
The Making of "Charlie" and how to Print in Reduction Lino
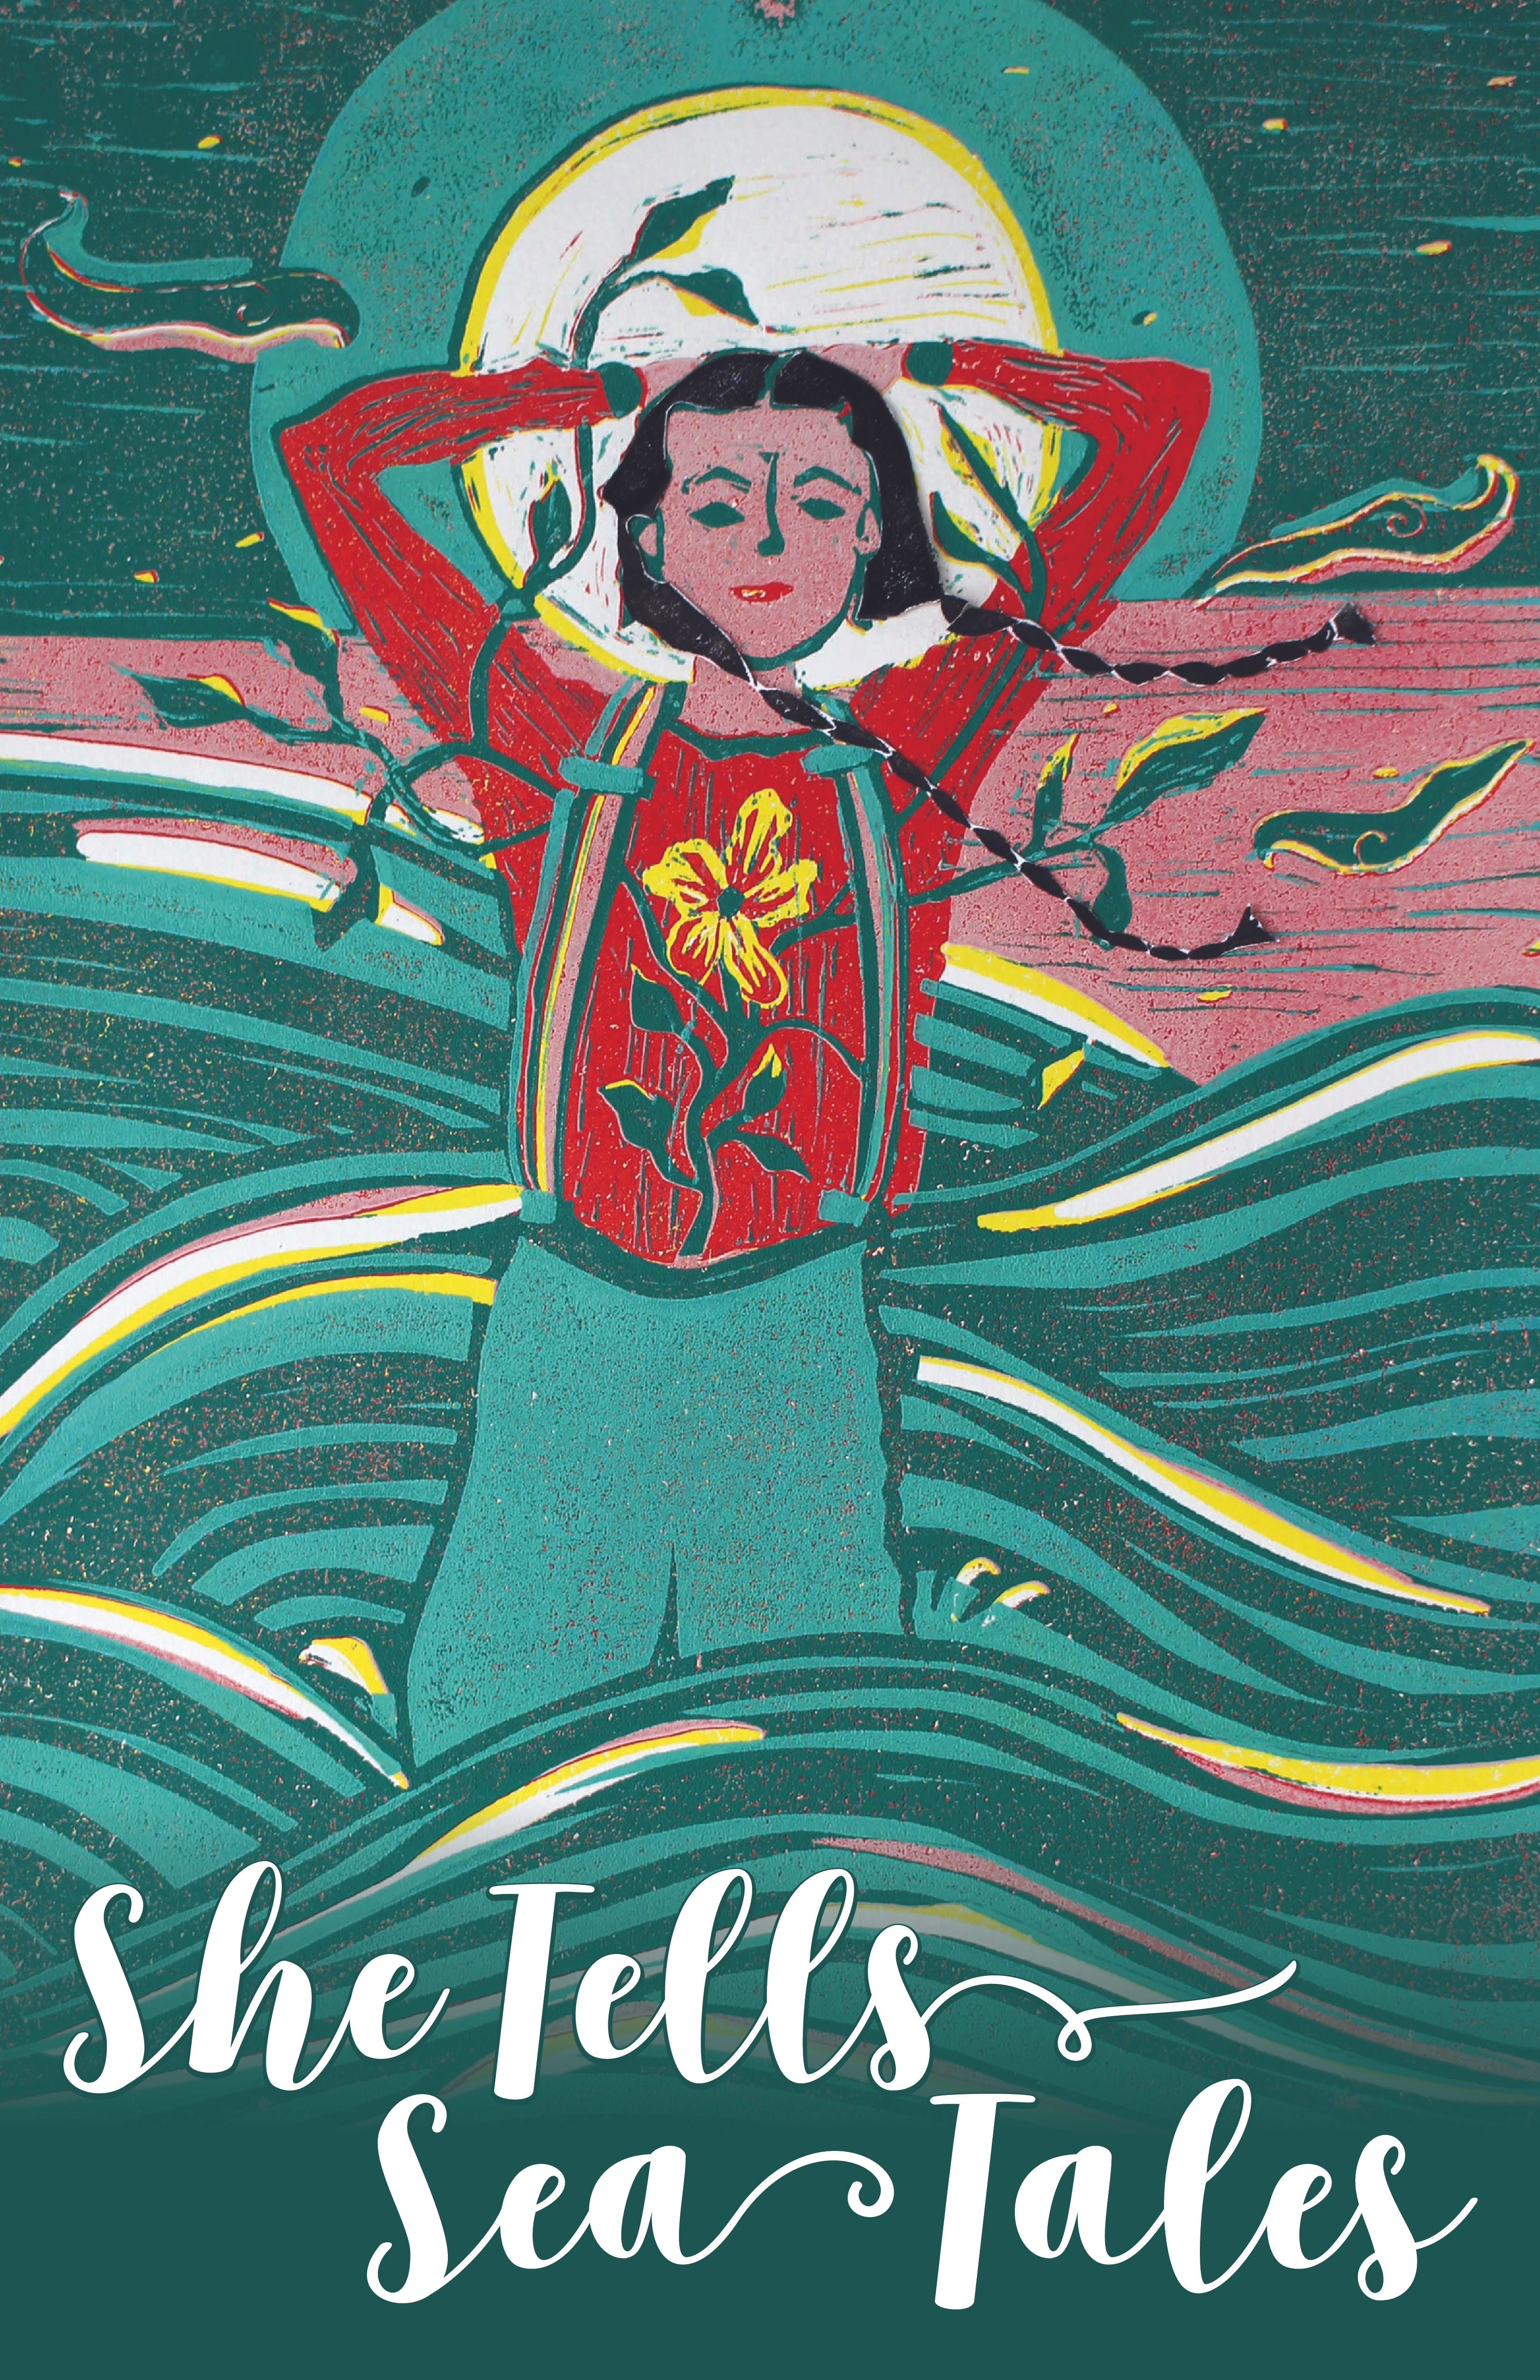
A linocut poster for She Tells Sea Tales, hosted by the Northwest Maritime Center in Port Townsend, WA
Check out She Tells Sea Tales, A sea story event told by women mariners in support of Northwest Maritime and their female-centered maritime education programs. Tickets go on sale February 14th 2025.
You can see more of my work at edengrace.ca.
Read more about this print on Northwest Maritime’s site here.

Welcome to my debut substack post! There will be a lot of different things here, some of which you can check out on our about page. Though for today, I will be showing you through my reduction lino printing process for Charlie, from concept to finish, and the incredible event and community it’s gotten to represent. I am overjoyed just reflecting on the people I connected with through this process, things I was inspired by, and the beauty that swept through it all. This was admittedly my first stab at reduction printing, though I have been carving lino since I was a wee one. In this letter, I talk about the creative process, people and places that swirled their essence into the piece, reflections on kin, and queerness. And a special thank you is in order to Penrose Press, for the detailed tips and techniques they share for free on reduction carving and printing. <3
Now, for the inspiration.
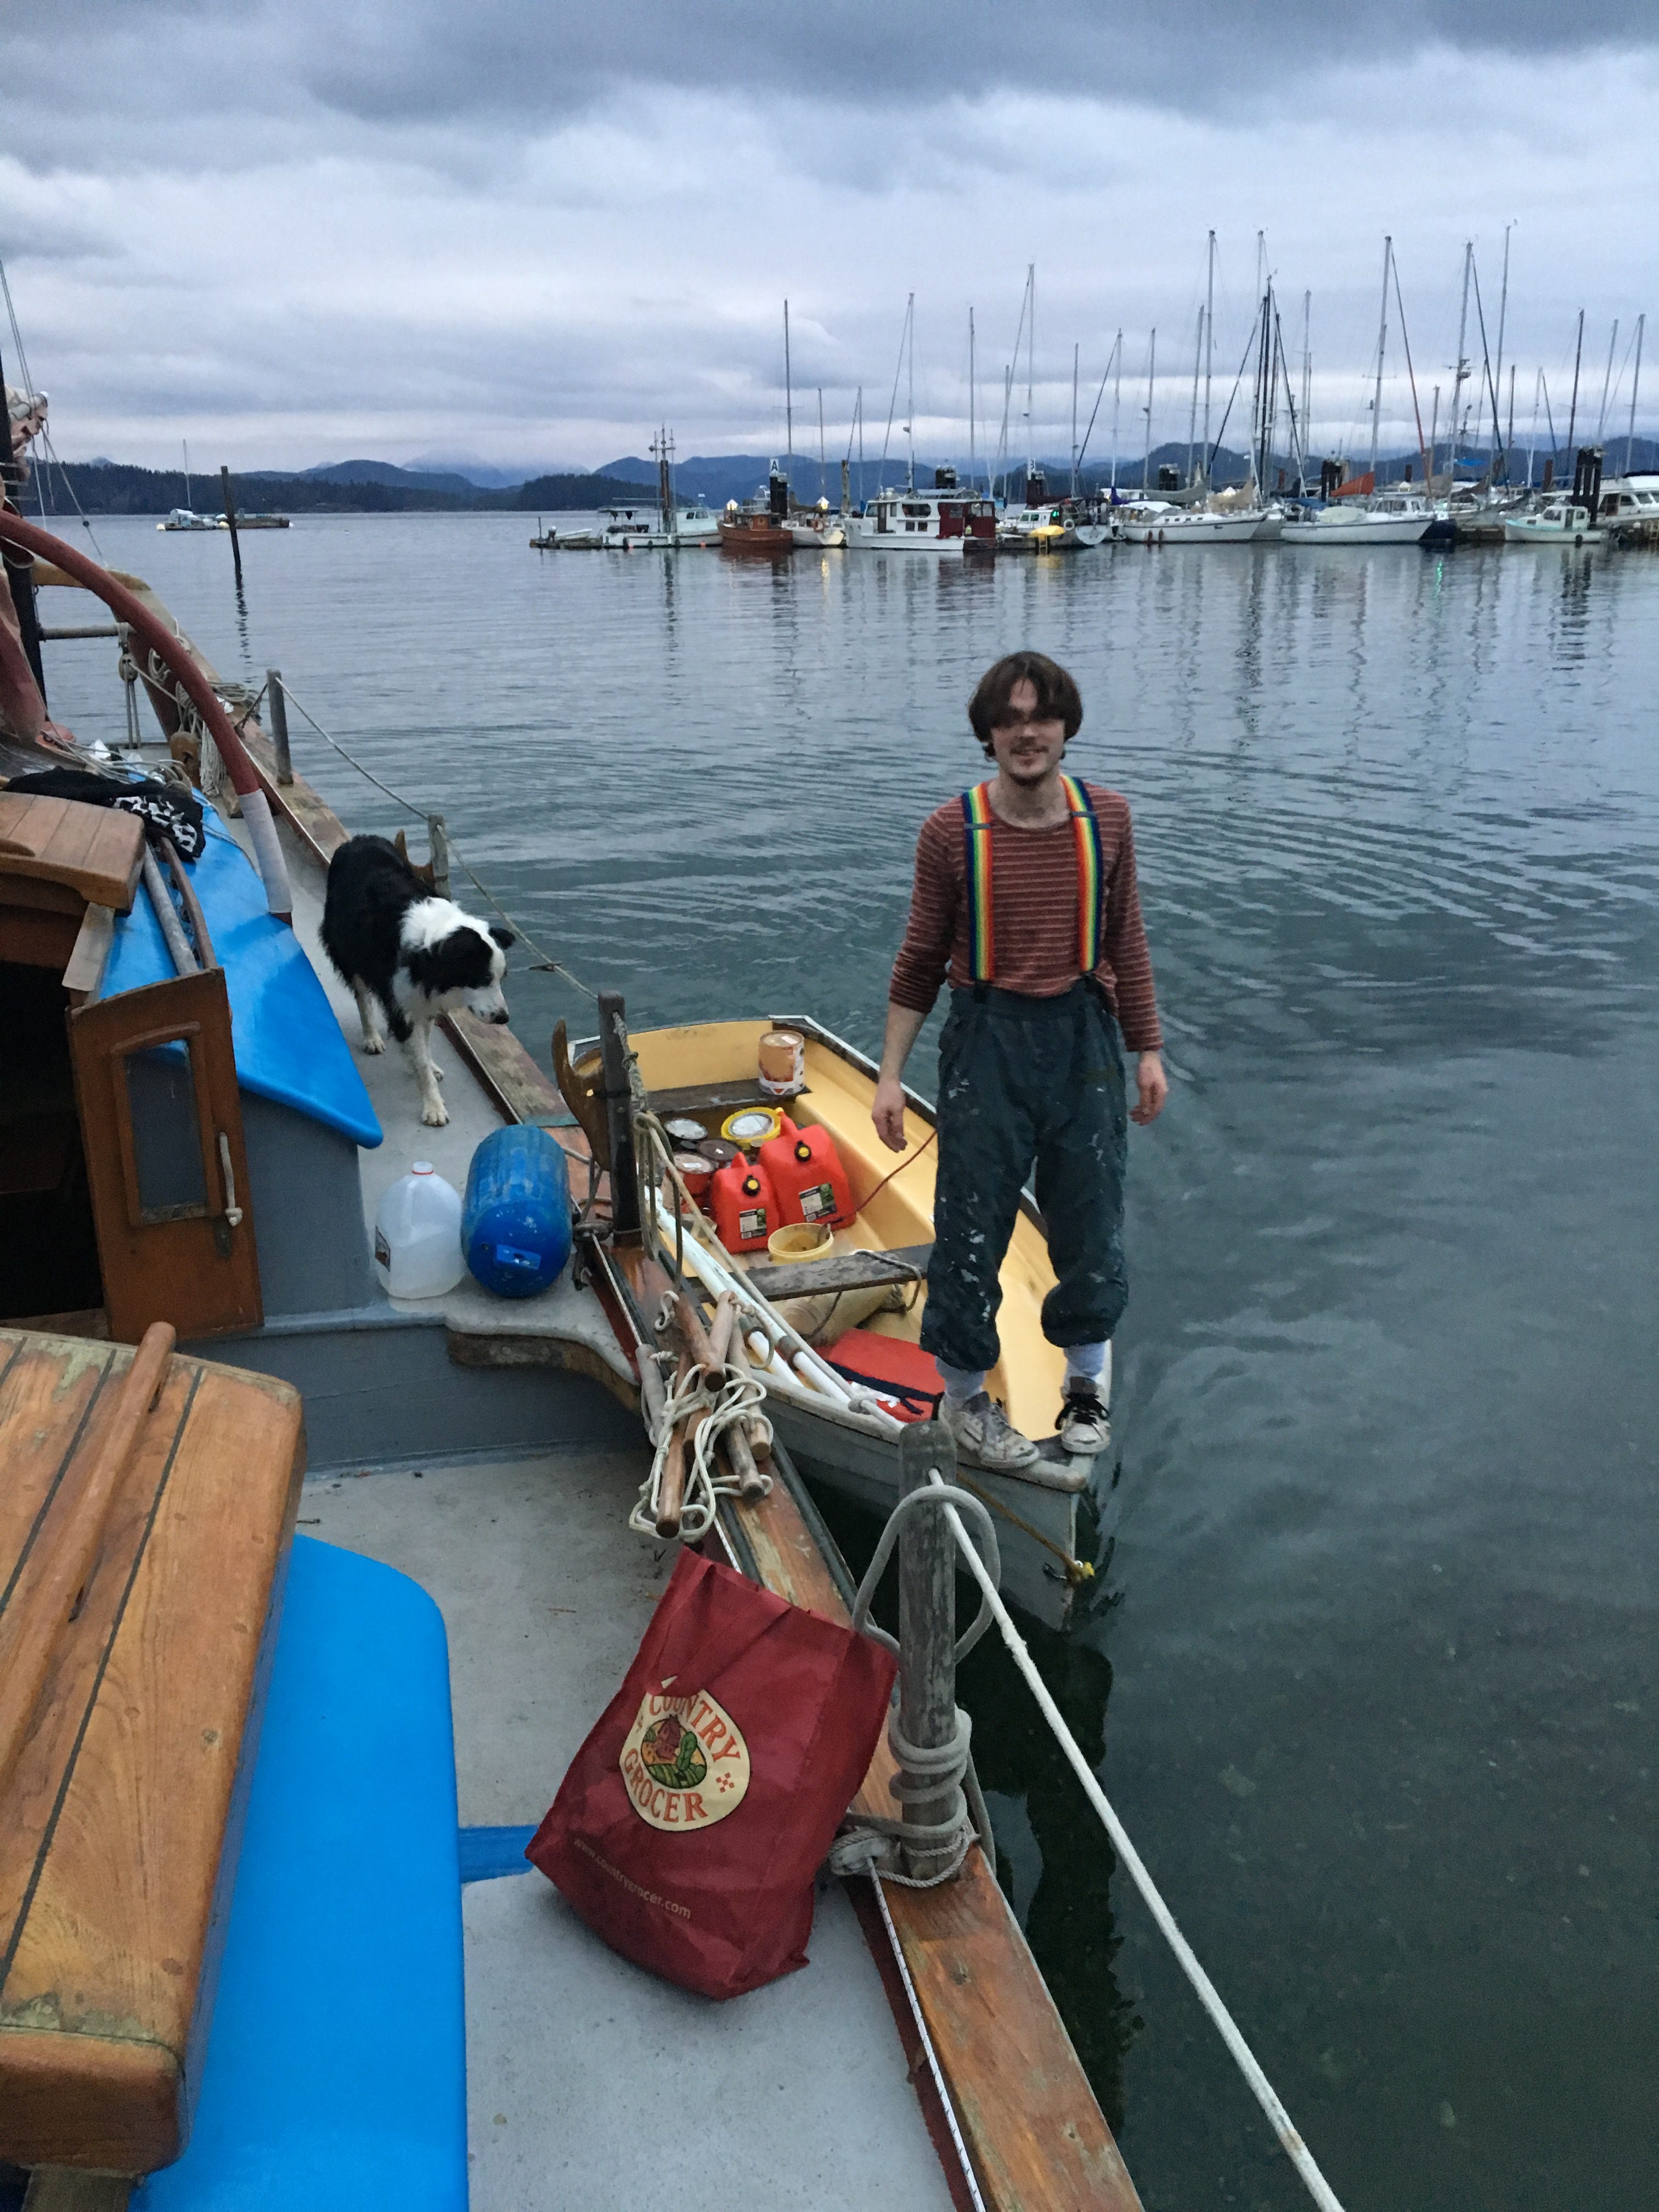
As some of you may know, I own and live part time on a wooden sailing vessel named China Cloud. Right now, China Cloud lives on Quadra Island and was in need of some winter loving at the change of season last November. And I was needing help. So much help. Luckily my little brother Charlie was around to balance on my dinghy’s stern (amongst other jobs). In actuality, he bailed many buckets of water out of the bilge, threw buckets of salt water on the decks, and much more. When it got to be after dusk, we went back through the woods to my grandma and grandpa’s house to warm up and dry our clothes off by the woodstove. She took the most beloved picture of Charlie, with his arms above his head, rainbow suspenders shown off, paint on his pants, sly little smile. Spending time with my brother on the beaches of my second home, watching him have so much fun dodging slipping on rocks, going on crazy mini adventures, all in the dense humidity and dead salmon stench of late fall, showed me how much being a west coast mariner is in both of our skin and bones. I hope I get more reminders of this.

When we got home to grandparents’ cabin and g’ma took that photo- I knew I’d have to draw him from that picture with his elbows above his head, imagining him a part of the sea, having just completed his commercial dive certification at summer’s end. My pride was bursting for the lil bro.
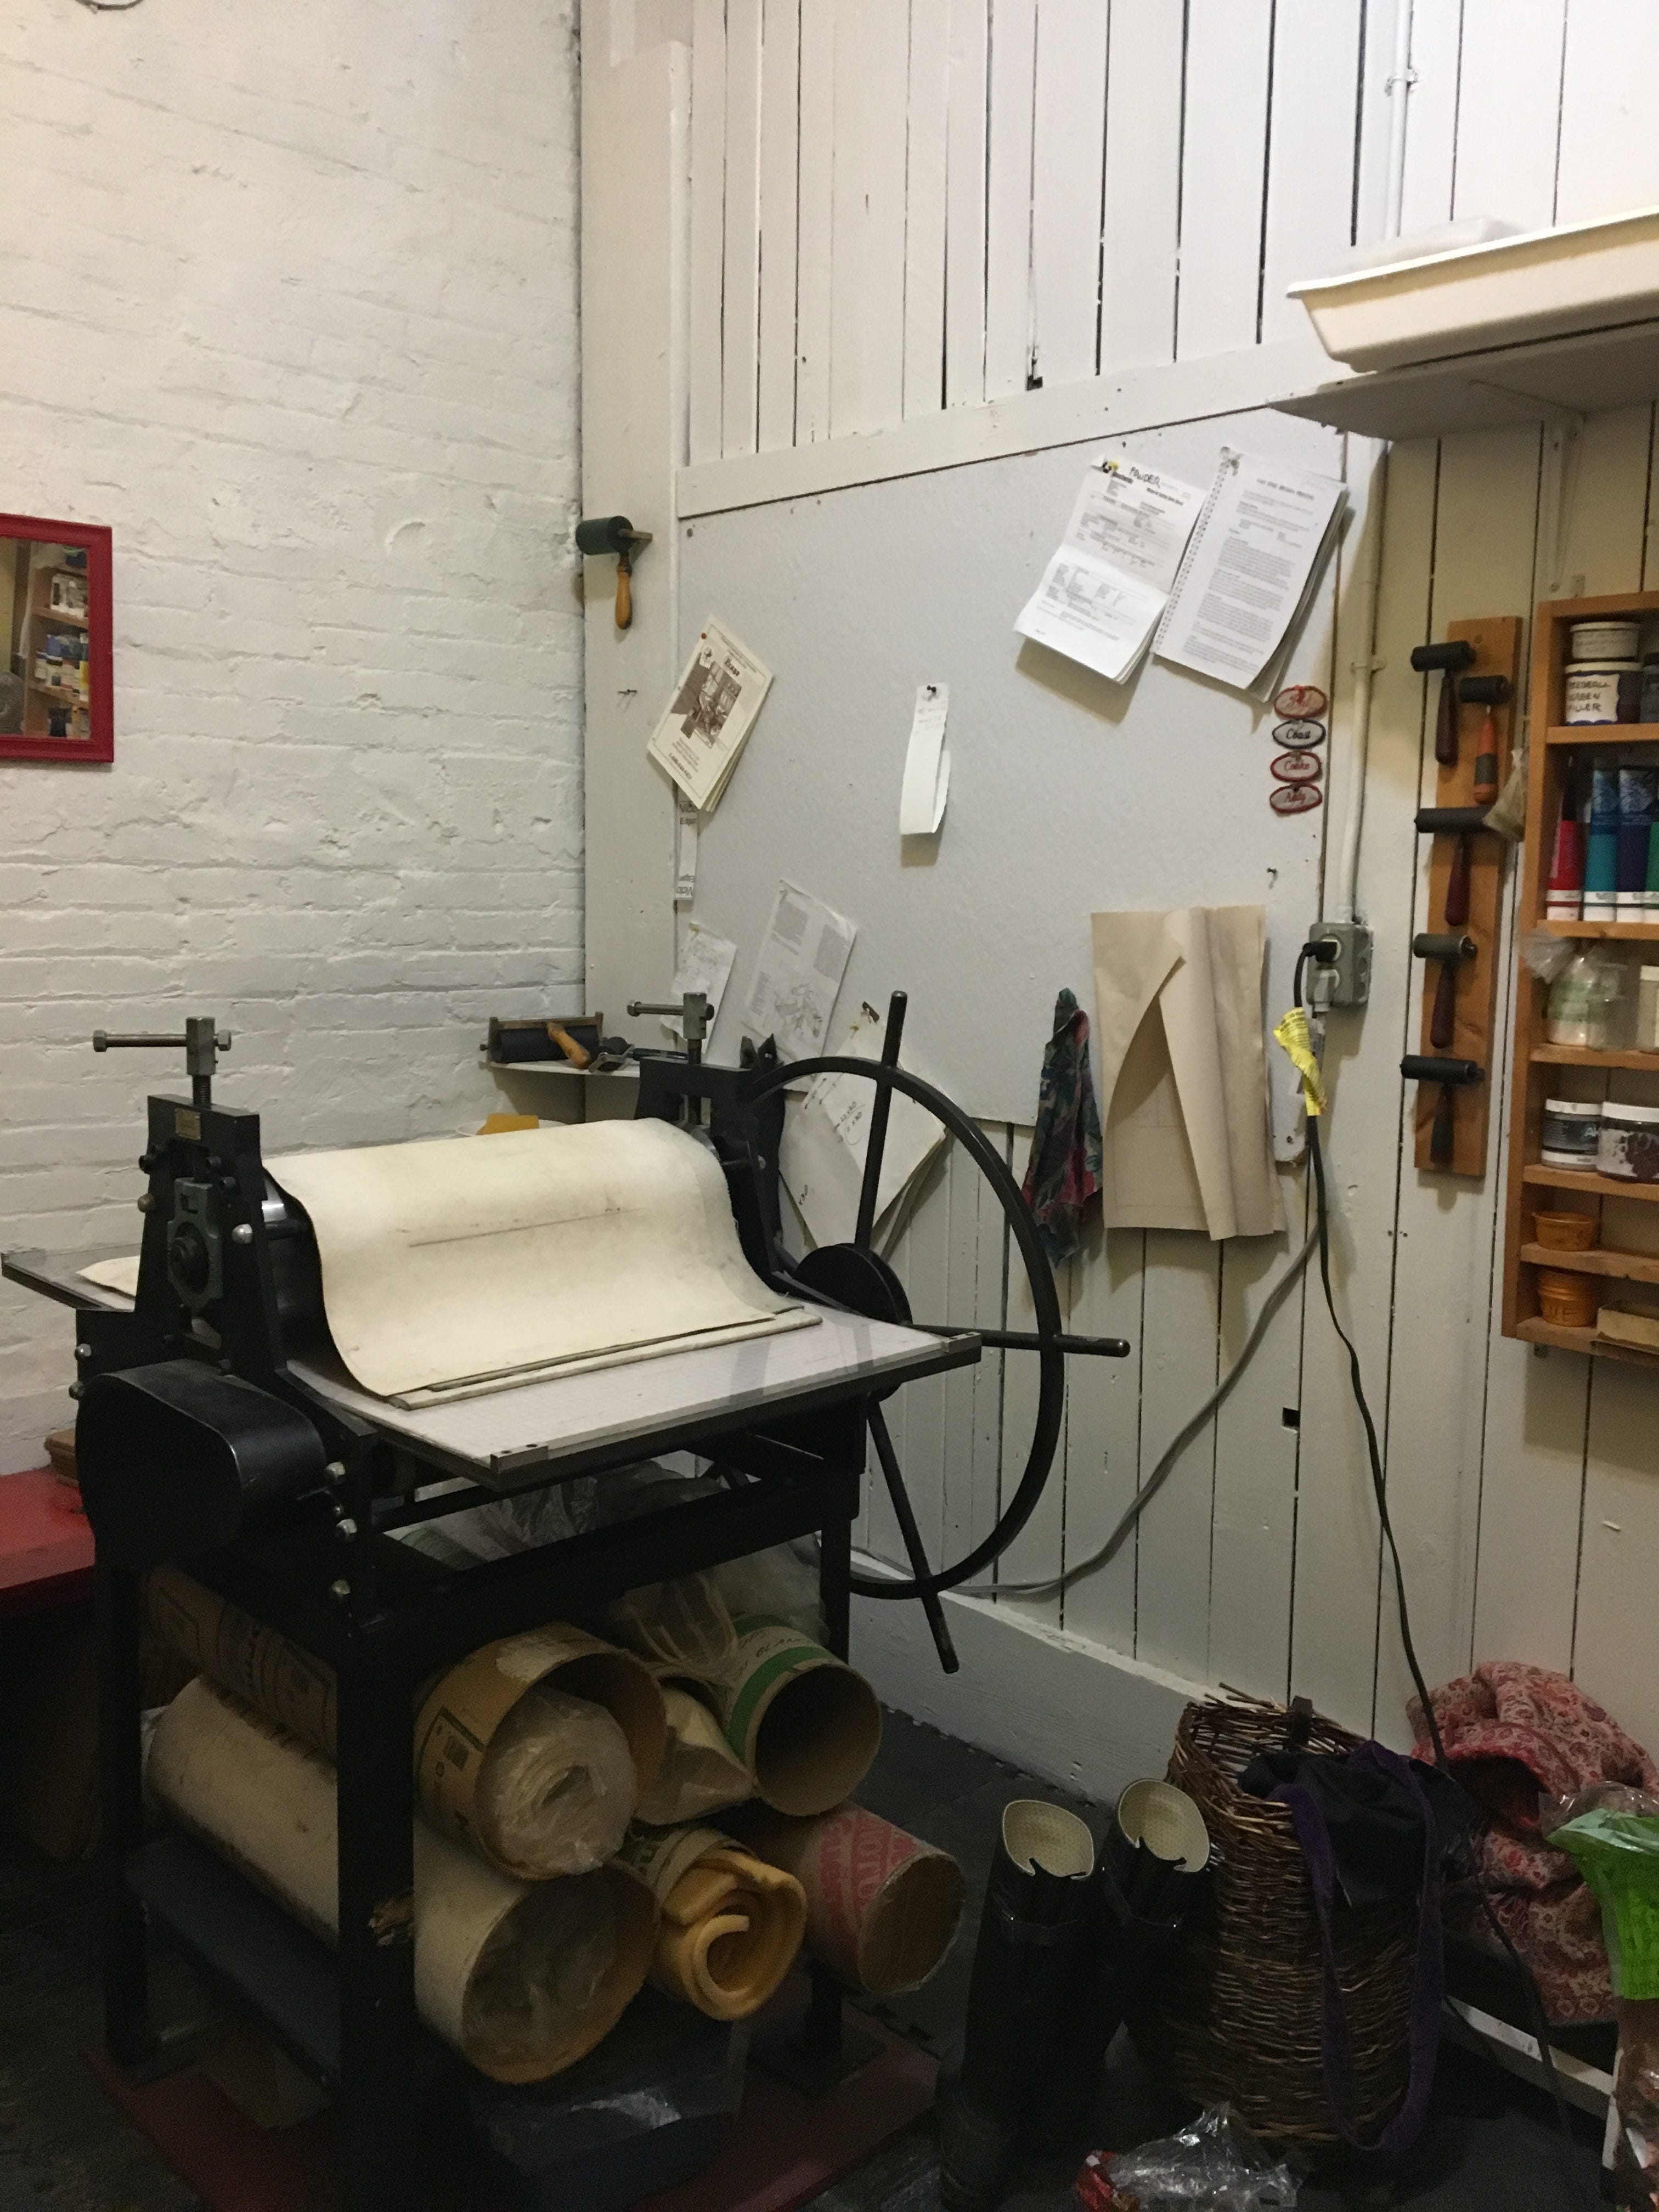
And then he drove me all the way down island to Victoria, and the salt in the air changed, and my focus went fully into making this print. In the weeks upon arrival, I found a printmaking based art studio in Fan Tan Alley, Victoria Chinatown, and was accepted as a member. Here, I learned further techniques to make this piece a success.
Here are the tools you will need to make your own reduction lino* print ::
printer paper (something not too thick) for your design, with nothing on the backside
graphite pencil and eraser
scissors and/or exacto, for cutting paper to size of lino or lino to size of paper
a plate to carve (your stamp material) I use green vinyl
carving tools, a great place to start is speedball, as it is cheap and comes with multiple carvers that you can put in the same handle
inks, speedball is also a good place to start. I would start with water based ink, rather than oil and you need primaries to mix with or whichever colours you want your print to have
sheets of paper to print on. You can use oversized sheets ripped or guillotined to a size that is a desired ratio of paper to lino, or pre-cut sheets. In this post, we are assuming you have chosen paper that is the already the size you want for your final prints. You want to collect as many sheets as you want for your edition size* plus extra for mess ups.
1 sheet of low quality paper that is larger than your printing paper
ruler, you will use this when making your template for printing
tape, this is needed to hold down your template
small to medium piece of plexi glass or glass, this simply needs to be a smooth surface that will not absorb your ink that you can roll your brayer on and mix your inks. If you decide to use a kitchen scale to track your colours, you will want this to be light enough to use on the scale.
brayer*, this is the tool that allows you to smooth out the ink on your surface, and transfer it onto your plate
kitchen scale, if you are doing a large number of prints, you will want to be able to weigh the different pigments you use to mix each final tone, as you will likely need to make another batch as water based inks dry out fairly quickly. Write down the weights of each colour as you experiment!
a spoon, this can be used to help press the backside of your print to give some more pressure and get a better registration*. Other fancier tools are available. I tend to use my hands for water based printing without a press.
clean up tools, a sink to wash in and towels to dry tools
wet rag at your desk to clean fingers off from ink before picking up your paper or printing
a dry space, to lay out your prints flat or hang to dry that won’t be exposed to much humidity
Key words* ::
reduction lino is a printing technique in which you carve your stamp, then print it, and carve again, print it, as many times as you like, giving you more colours in your piece that a typical 2 tone (paper and ink) lino
plate is the lino that you are carving into a stamp
brayer is a rolling tool that picks up ink to put on your plate
registration is the final stamp on paper. Often used to describe qualities of the printing process’ effects.
edition refers to limited or open edition, meaning a set number of prints that won’t be printed again (ex. a print might have 7/10 in the bottom corner) or nothing/Open Edition stating there could be an unlimited amount of the same print produced. Reduction lino is always limited edition.
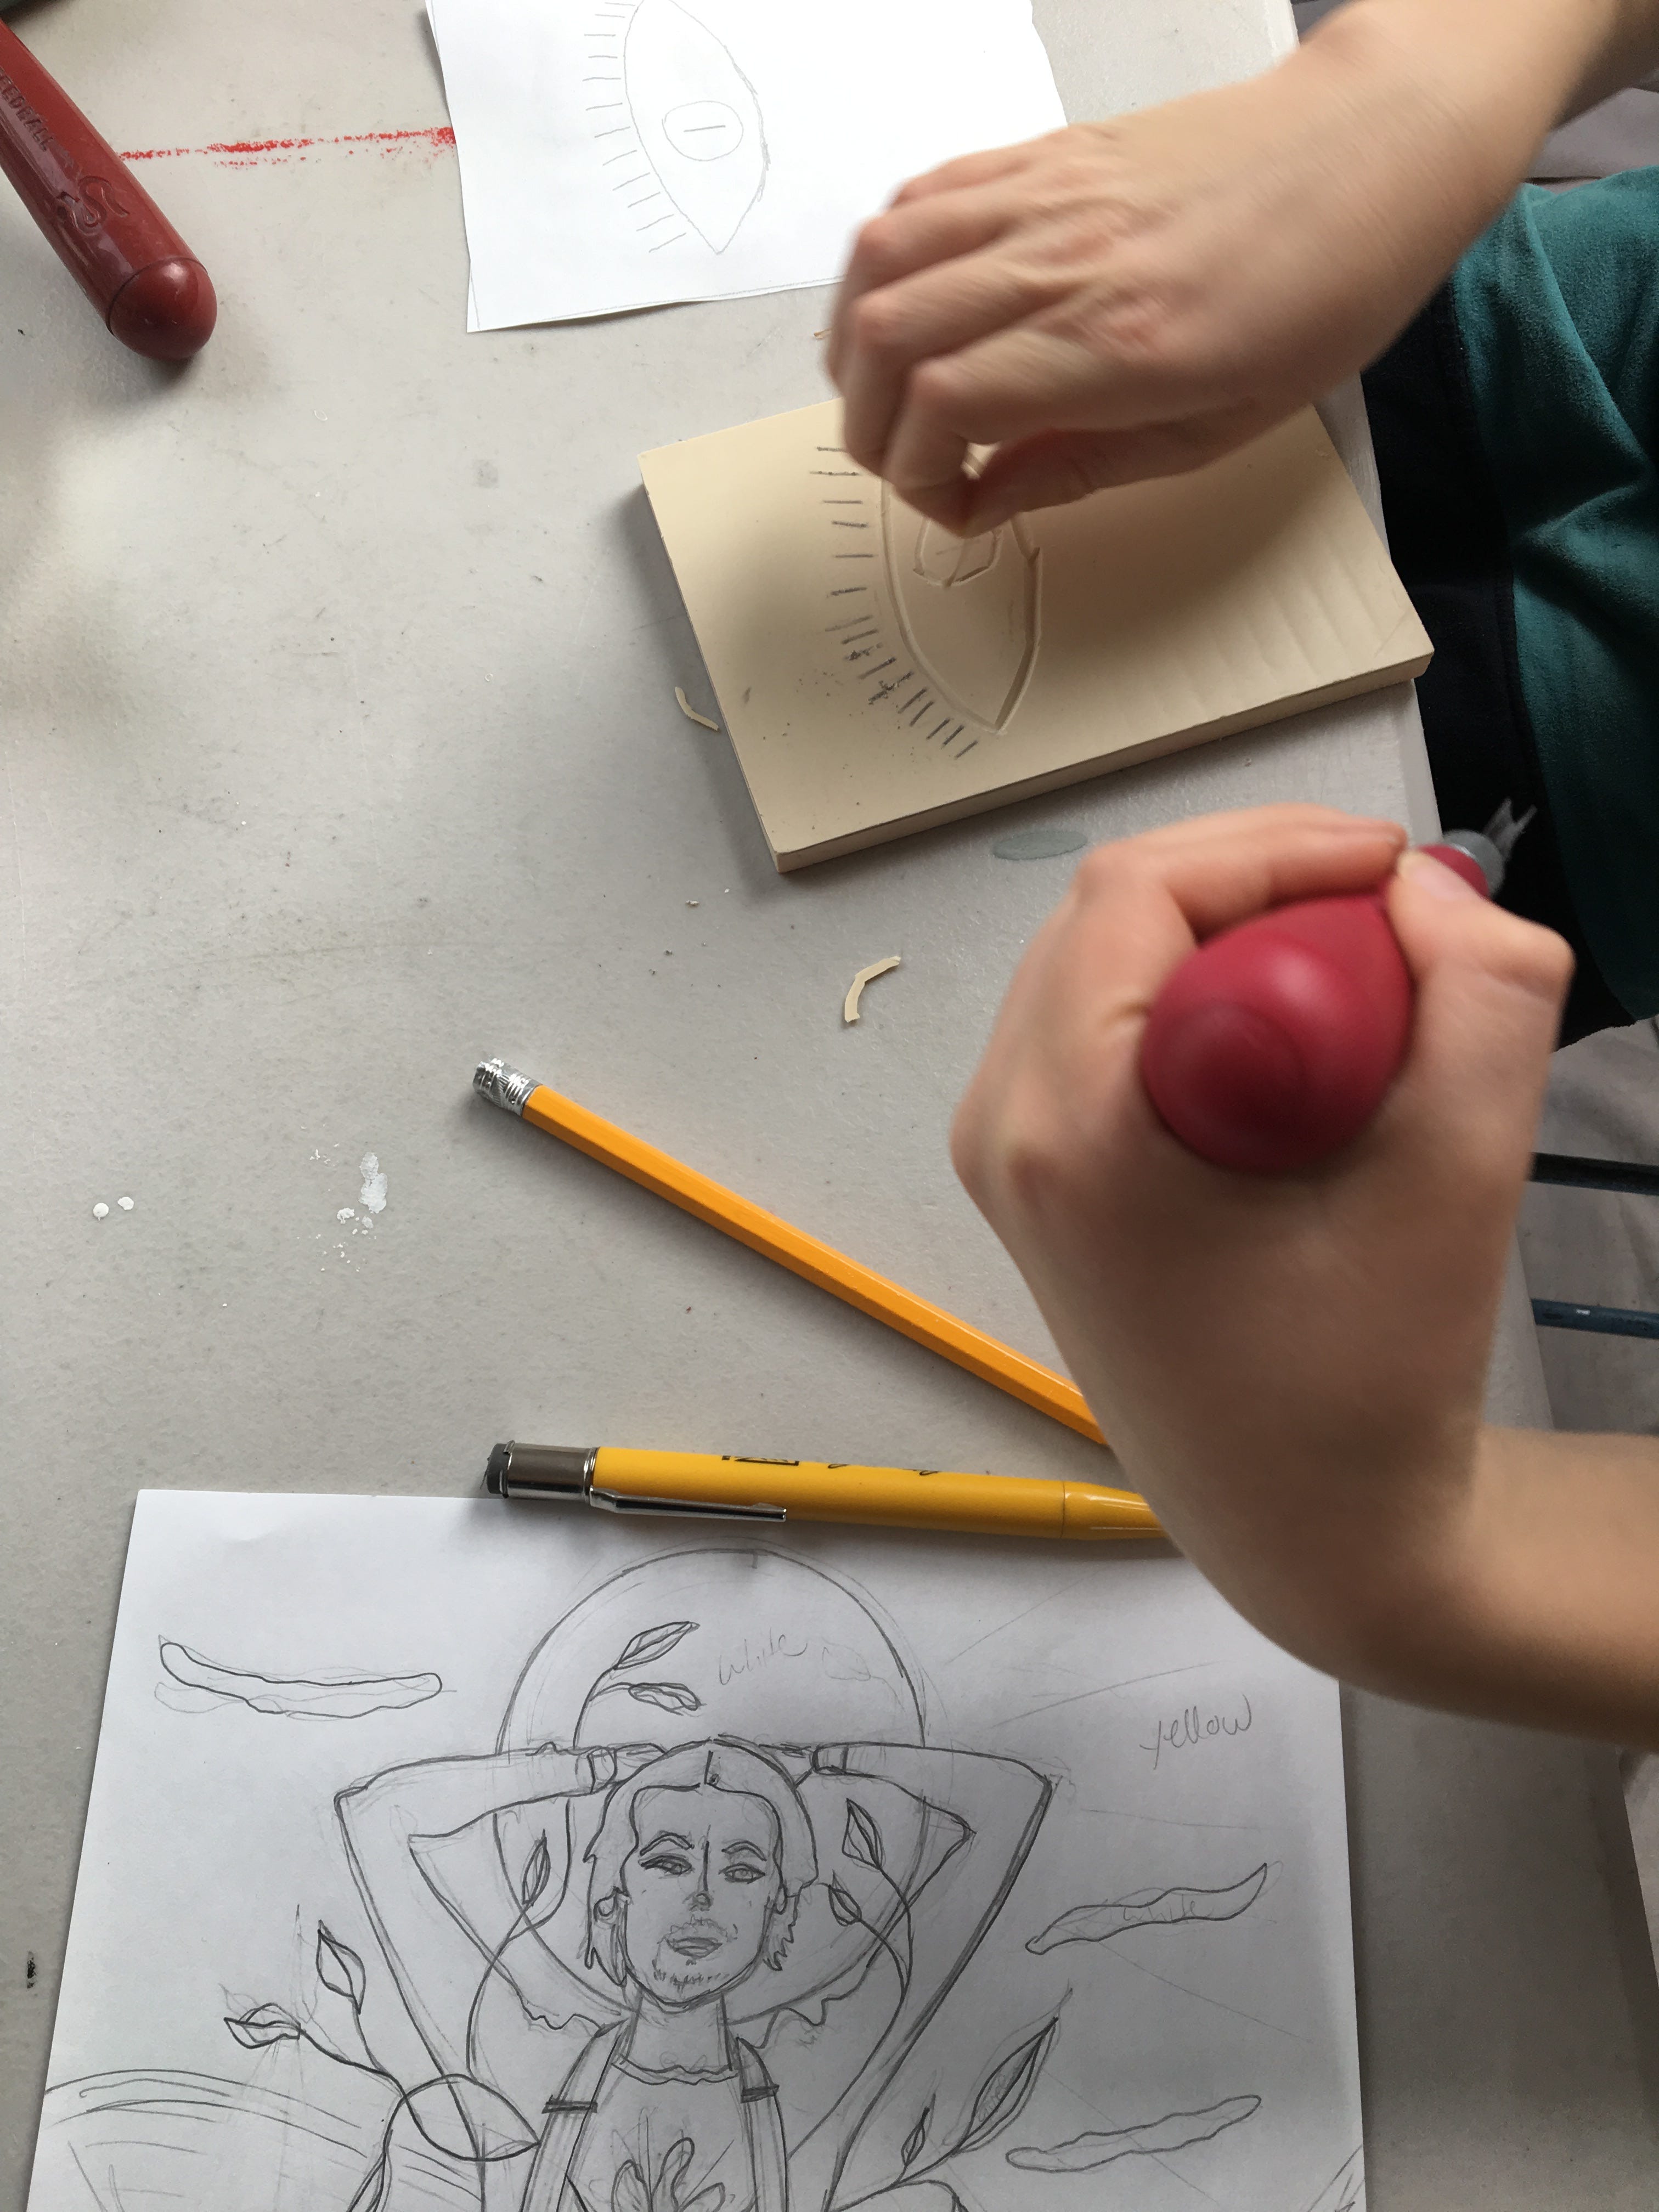
My process for carving Charlie
My process always starts with a simple grahite drawing on a piece of paper the size of the plate I am carving. The plate is the equivalent to a ‘stamp’, that you carve into. The little one carving is using ‘easycut’ rubber, a great place to start for adults too. Battleship and wood blocks are other materials that are popular, and more traditional.
Once you’ve cut your paper to the size of you piece of lino, or lino to the size of your design, you are going to go over your drawing with a dark graphite or simply re trace the lines you are sure you want to carve with more pressure.
Now you a have a design that is simple and the size of your plate. Take you paper and put it face down onto the lino, and secure it there with your hands or tape. Don’t move the paper through this process. Take your dark graphite and start to transfer the drawing by making long, angled strokes that fill the entirety of the back of the paper. Lift it up to make sure it is transferring, and once complete remove the paper.
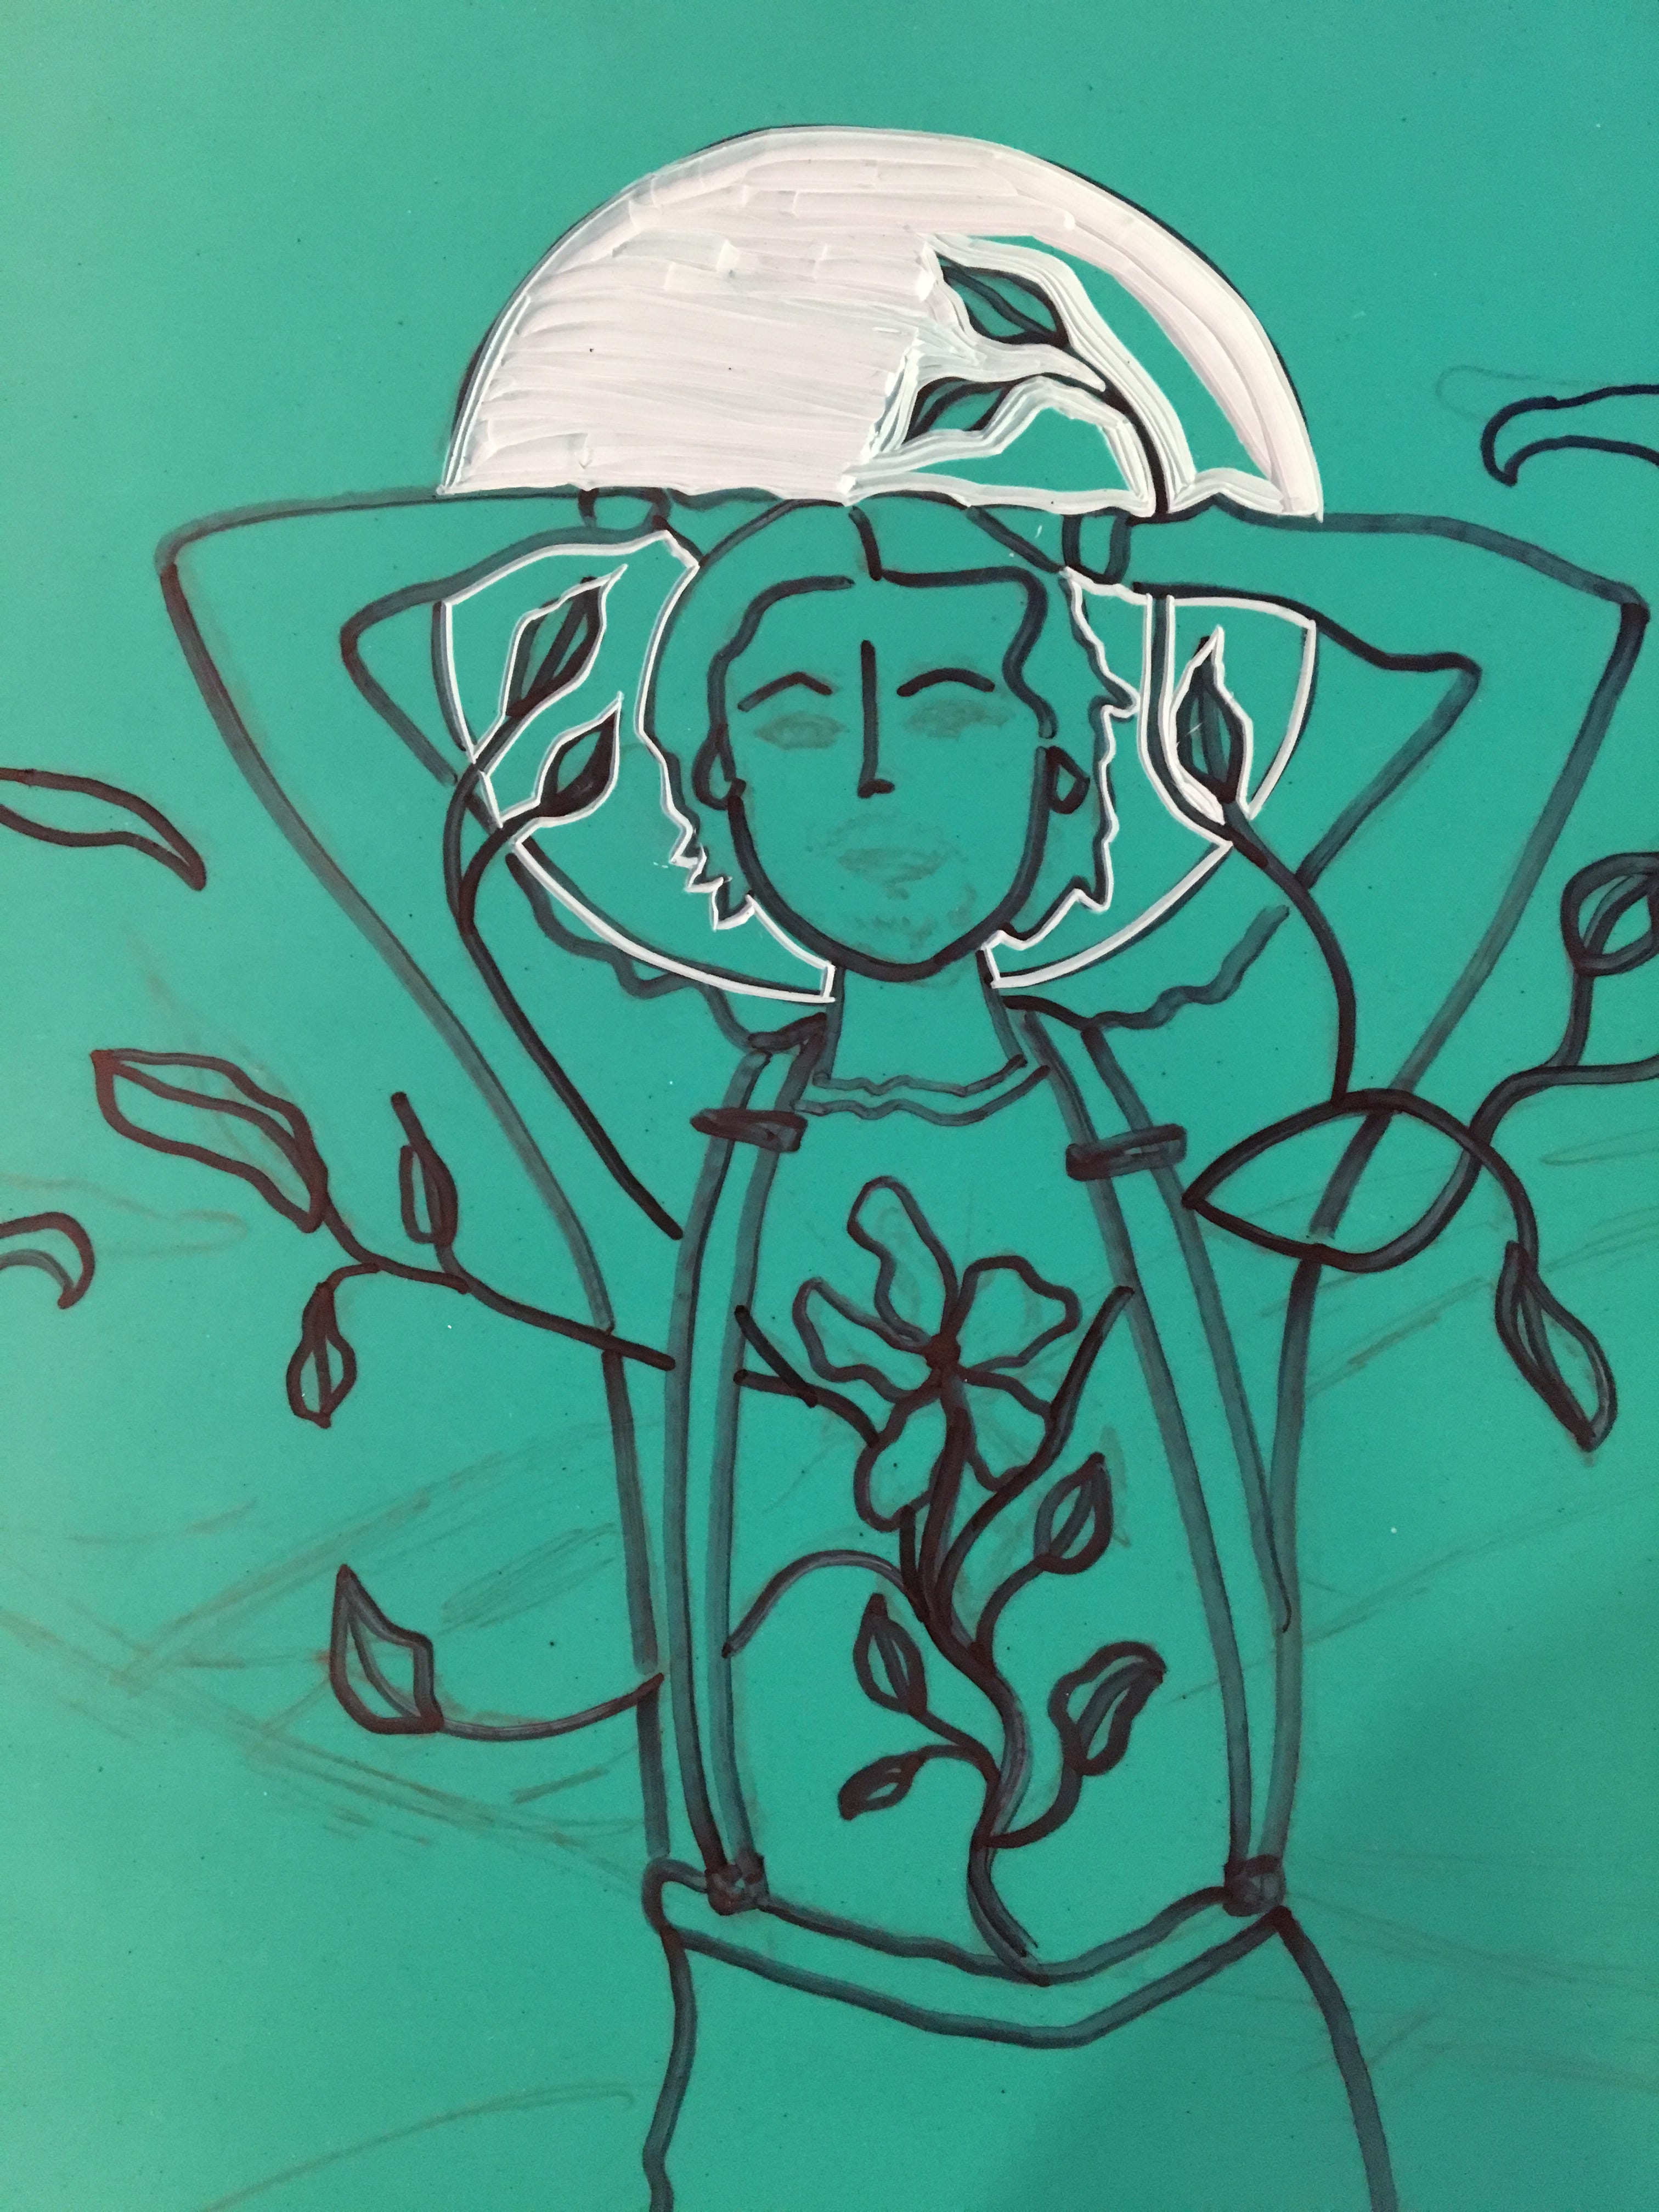
Next you need to choose how to preserve your design through multiple printings and washings. The pencil lines will not hold for reduction. You can sharpie like I did, but you will have to print multiple tests just to get the sharpie transfer off. Perhaps a wiser choice if you trust your carving techniques, is to take your smallest tool and make very light faint lines along the design for something to go off of later. (This technique is from Penrose Press.)
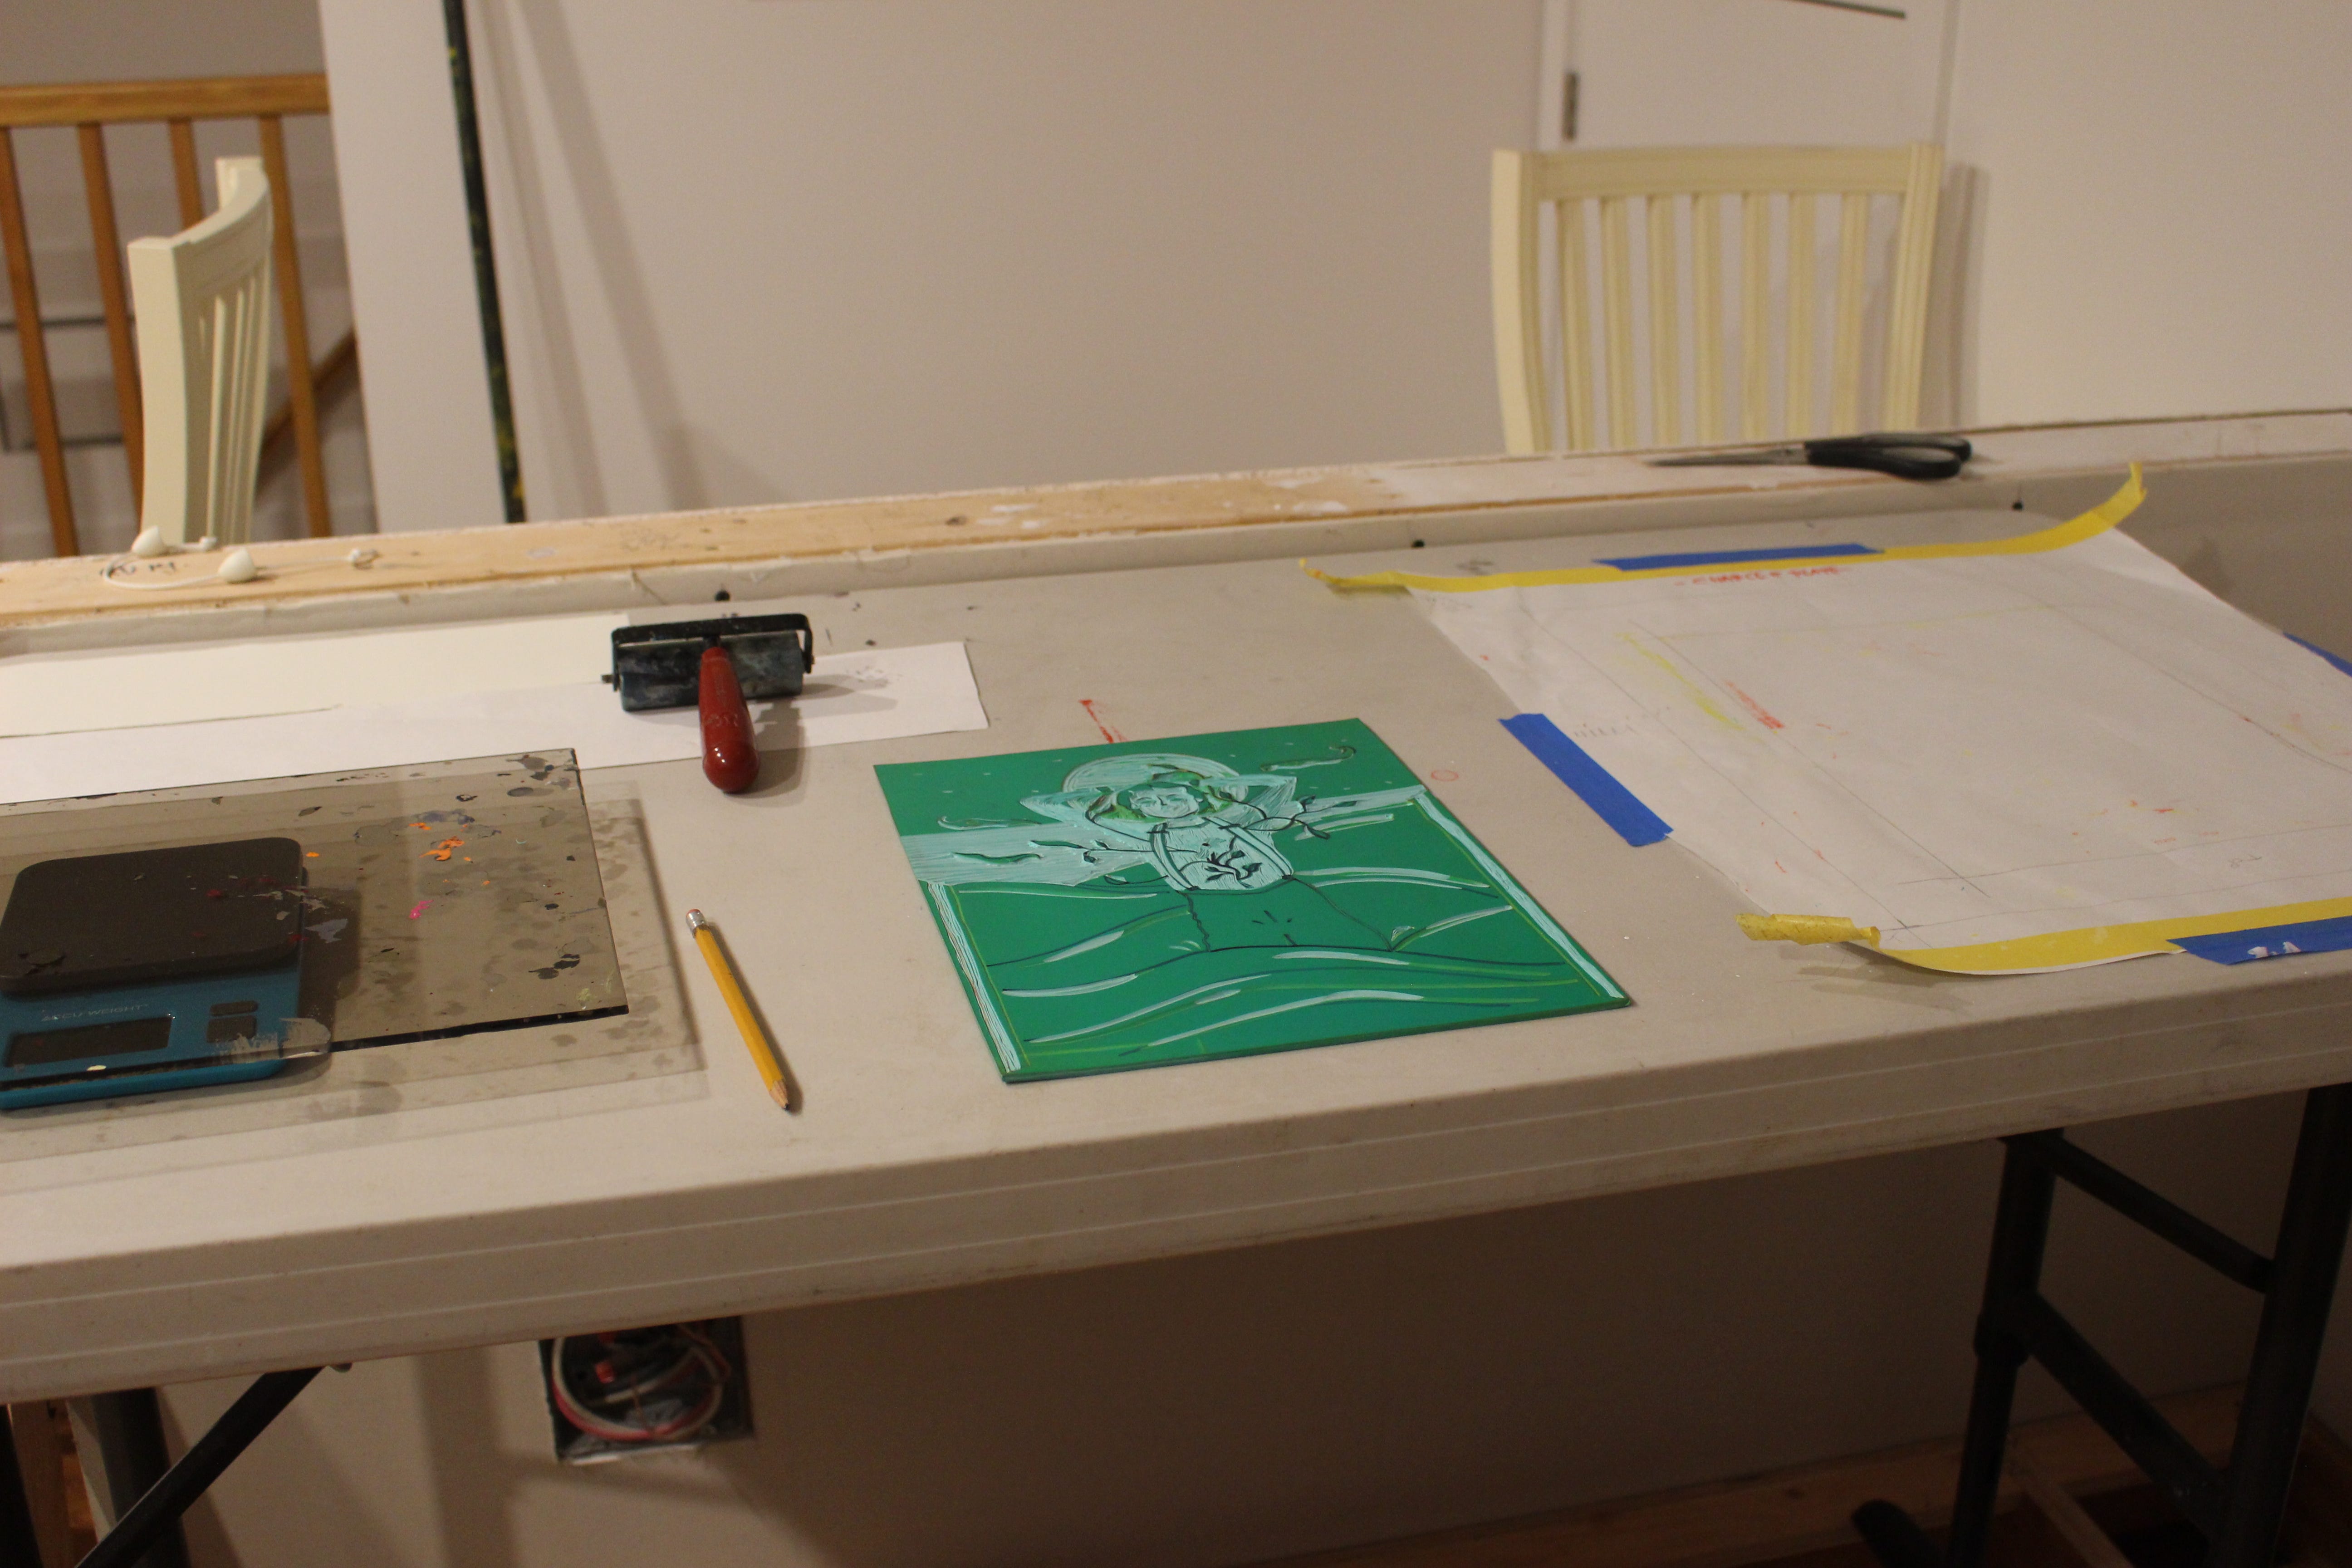
Now that you have your design set on your plate, its time to start carving the first layer! Woot. You will use a variety of carving tools, but remember, if you are doing reduction lino, you only want to carve whatever is going to be the colour of your paper (probably white) for this first step. You can see here I started with my moon.
Making a template
Your next step is going to be making a template. This is optional if you are doing a single layer print, but needed for reduction. Mine is to the right in the image below. Your template is piece of paper that is larger than your final printing paper, and allows you to line up your lino registrations consistently.
Center 1 sheet of your final printing paper onto your template paper. Simply eyeball this, and take your ruler next to each edge, making a line with your pencil that goes beyond the corners of your printing paper. The more accurate all of your lines are in presentation of where your paper goes, the closer your registrations will be on top of each other.
Now take away the printing paper and place your plate onto the template. This is going to be a mix of math and eyeballing. Start with eyeballing it into the spot you want. Traditionally, this looks like equal margins on the sides and top, with a bit of extra space on the bottom. Now take your ruler and make note of measurements in the margins, and start shifting the plate into the exact place you want it based on said measurements. Once you’re in the spot you want, trace the plate onto your template. Remove it, and use your ruler to extend the traced lines to make the same crossing that you did for your printing paper.
Now label top/bottom for ease later on.
Done!
Choosing and Mixing Inks
(weighing inks is optional, I have yet to see other lino artists do this)
Once you have your first layer carved, paper ready, and template taped down, set up your space! You will need a table and your tools dry and organized, with a wet rag to dry your fingers close by.
Now you need to choose a colour for your first layer. You want to choose something lighter than the rest, for mine I started with yellow. If you want a colour that you need to mix, follow the steps below.
For mixing water based inks, you can do so right on your plexi. First place it on your kitchen scale and tare it. Take the spoon or a palette knife and scoop out 1 of your inks, or squeeze a small amount onto the middle of your plexi. Write down the weight and colour. Press tare again, and repeat the process with another colour, and so one. With all of your pigments down, mix them up and pick them up with your palette knife or spoon and place it in the corner. If you don’t like your colour, keep adding pigment and taring and taking note of added weights as you mix. Note that I find a maximum of 22 grams of ink is a good amount for hand printing without it drying out too fast.
With this his little recipe you’ve made, you can later re create if you have more printing to do when it runs out.
Printing by hand
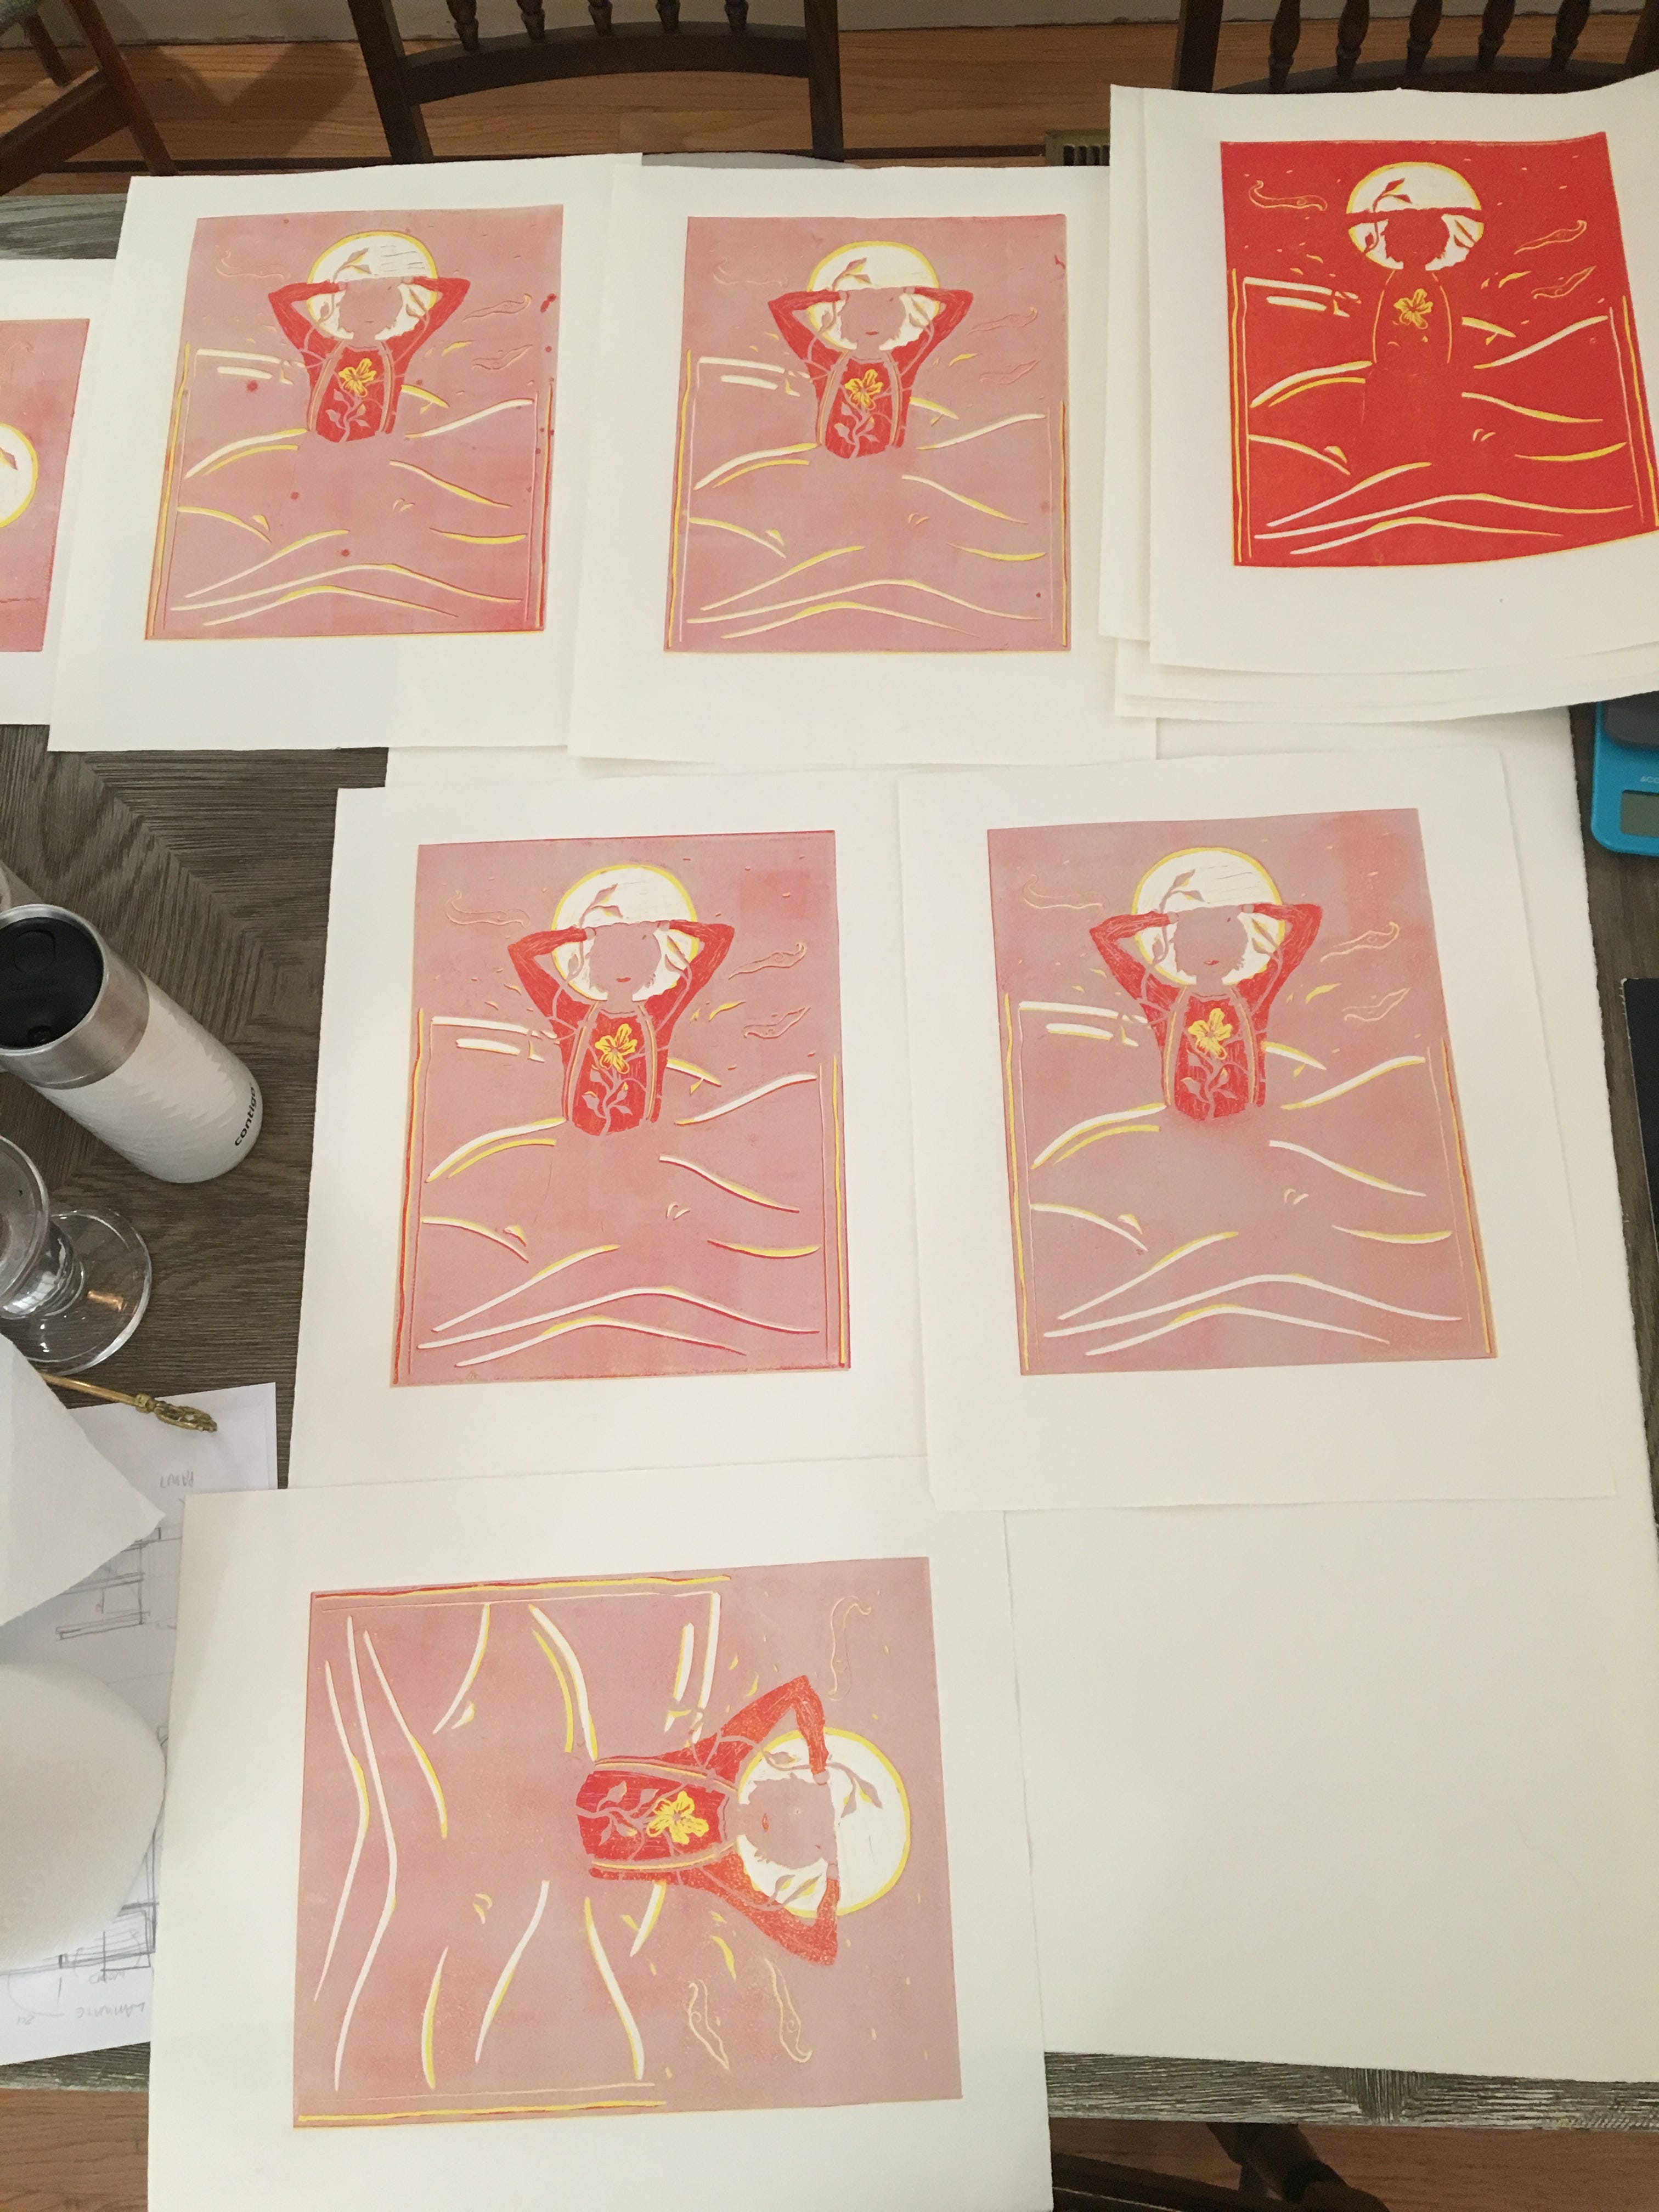
Once you are happy with the tone, it’s time to roll it out on your glass/plexi! Use the brayer for this, it will take some time and technique but a few things to remember are to only take a bit of ink at a time, work semi quickly to prevent ink from drying, and get a good bright sound, not a slippy one that means too much ink, or a nothing sound that means not enough. Put a bit on a scrap paper with the final weights of colours beside it as your tonal legend.
Time to roll your brayer with the ink onto your lino, going over it multiple times to get even coverage. When done place down your brayer and place your plate on the template in its spot, taking note of top/bottom. Clean your hands with the wet rag and pick up a sheet of printing paper. Line up the top or bottom of the sheet (depending on if your template and lino are upright or upside down), and place two corners in the corners of your template, then slowly lower the rest of the page onto the plate.
Time to print. Take your clean spoon or hands and press the paper down, making sure it stays in the same place while covering all areas for even registration. You can lift up one corner while holding the sheet down to see how it is printing, and keep going if needed.
Once satisfied, peel the paper off the plate, and voila, your first layer on your first print!
Repeat this step with every paper you have in your edition stack. Note that the image above is two and three layers in (yellow, red, pink).
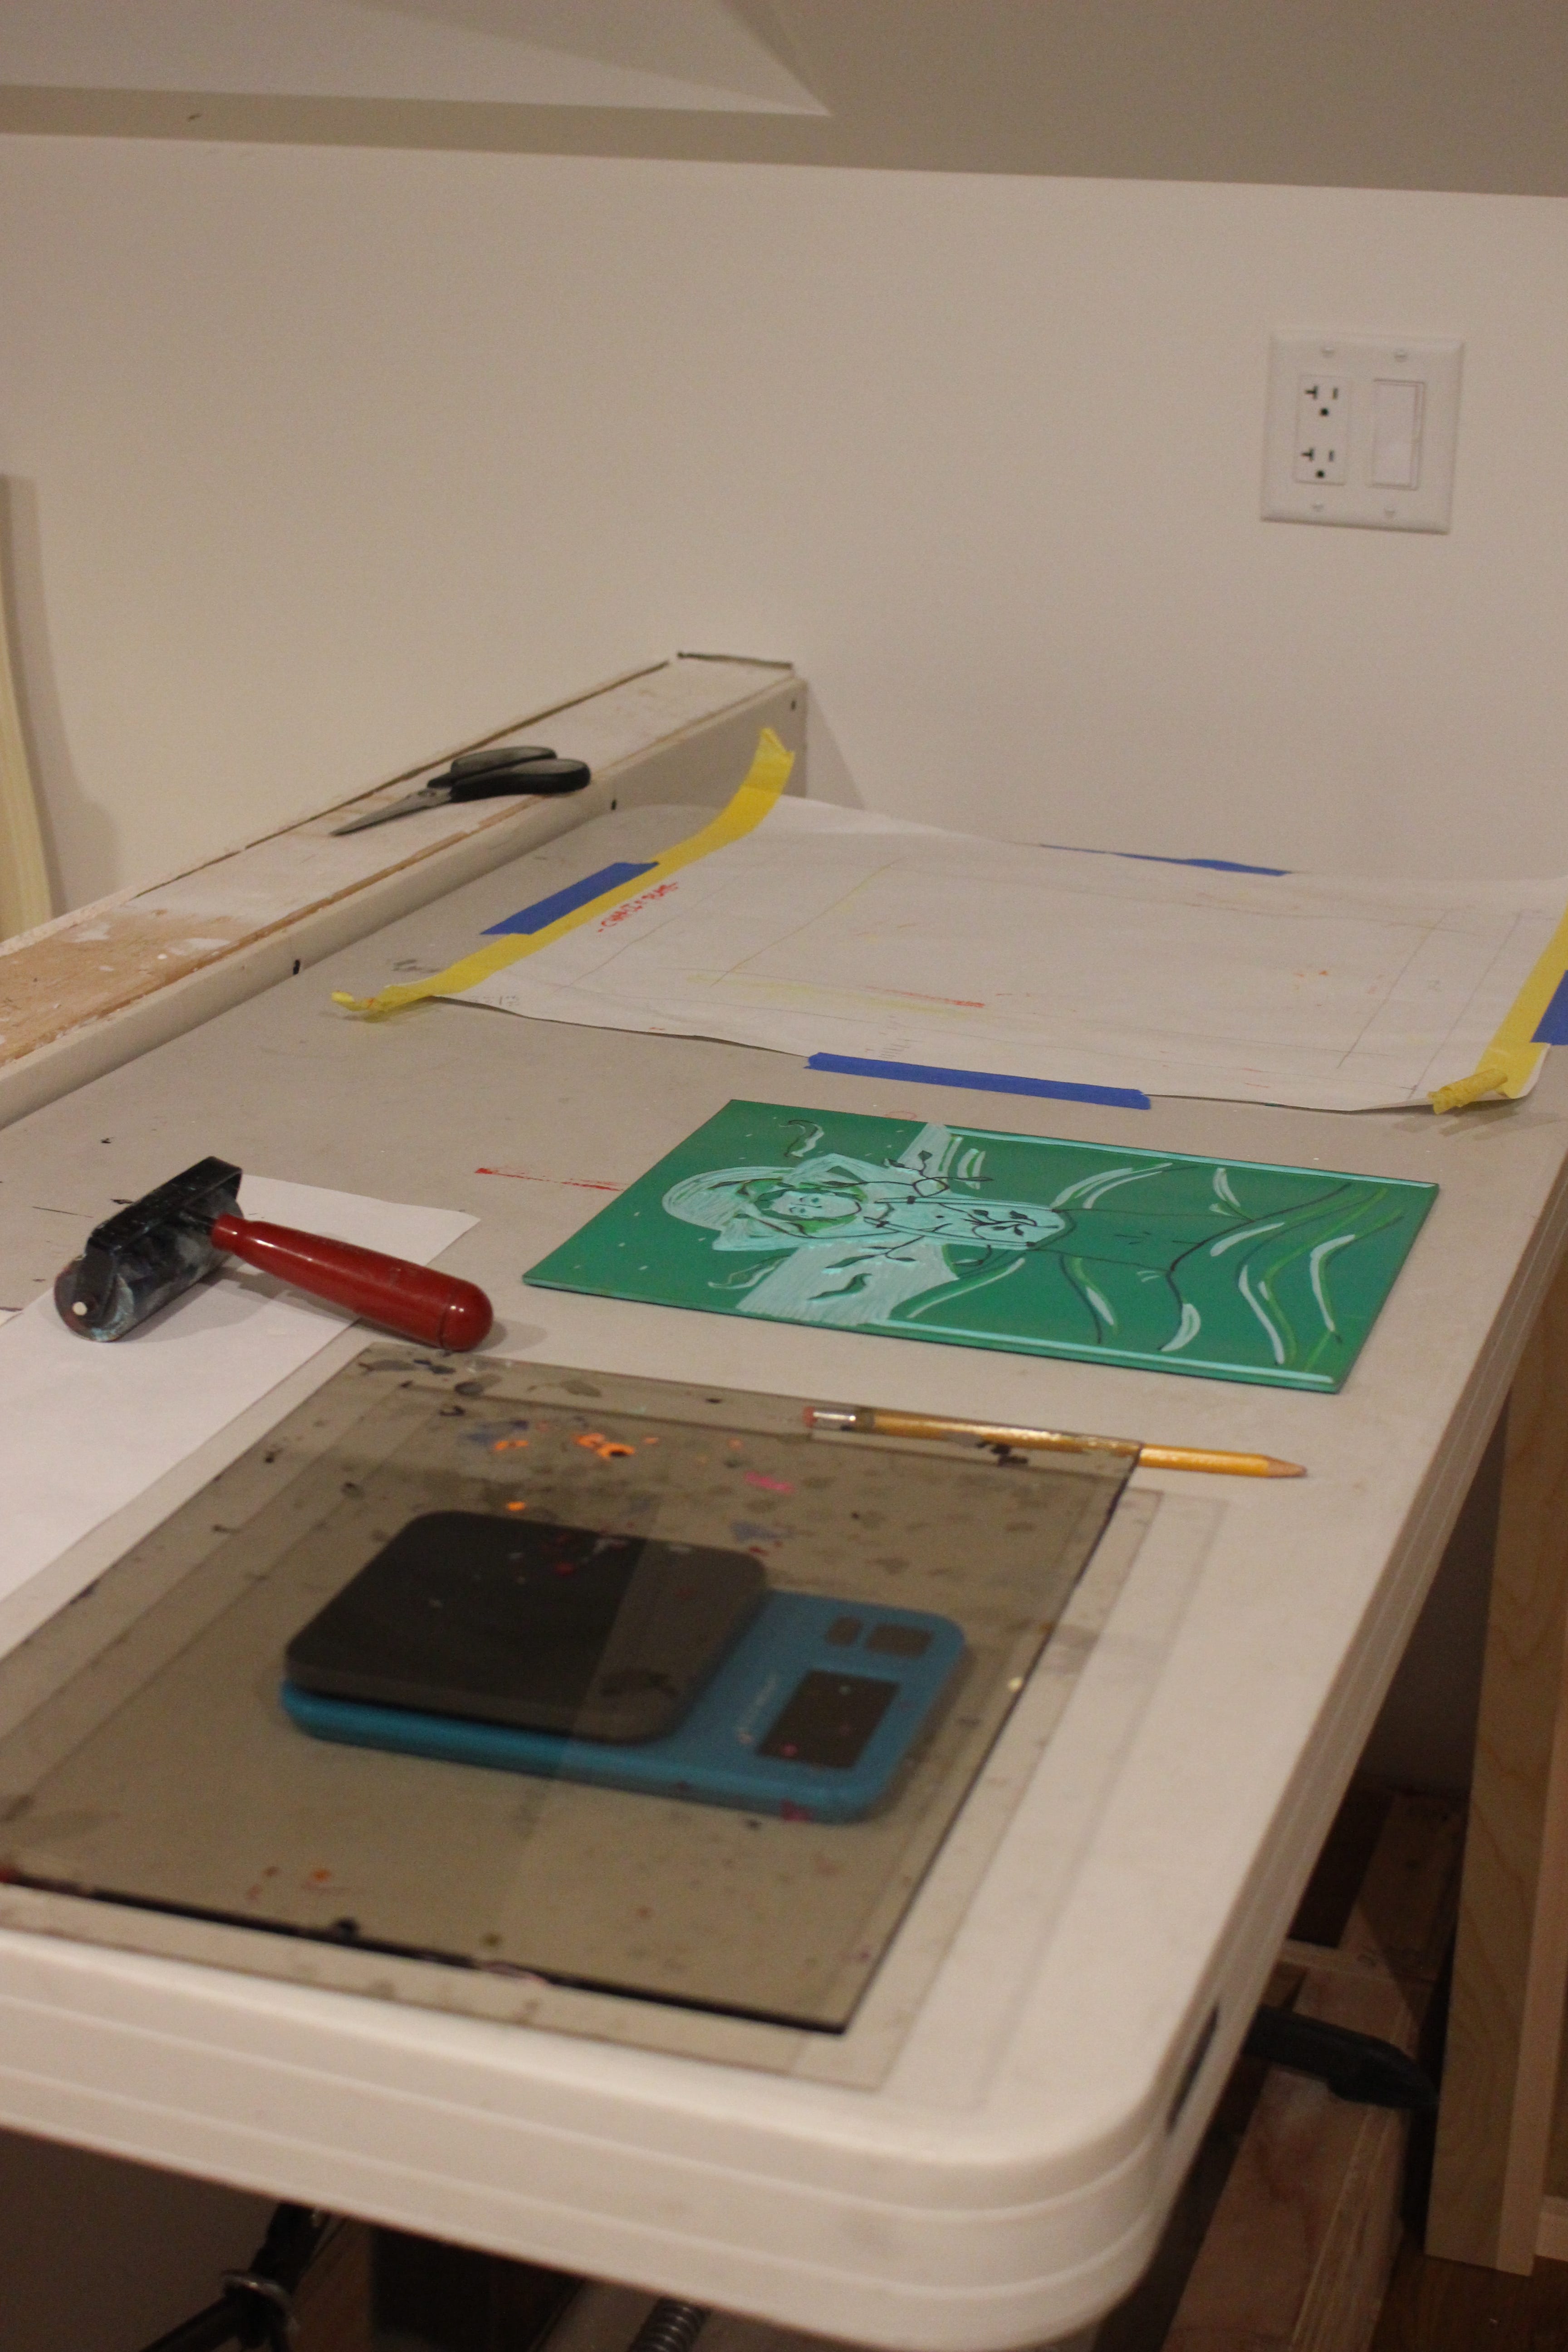
Carving and printing following layers
Once you have finished printing your first layer on every paper, you can move onto carving your second layer. Clean off your plate with warm water and pat it dry. You can get to carving, remembering that this time you are carving away anything that you want to stay your first colour (for me that was yellow).
Once your first layer is dry, you can repeat the mixing and printing process with layer two in your chosen colour.
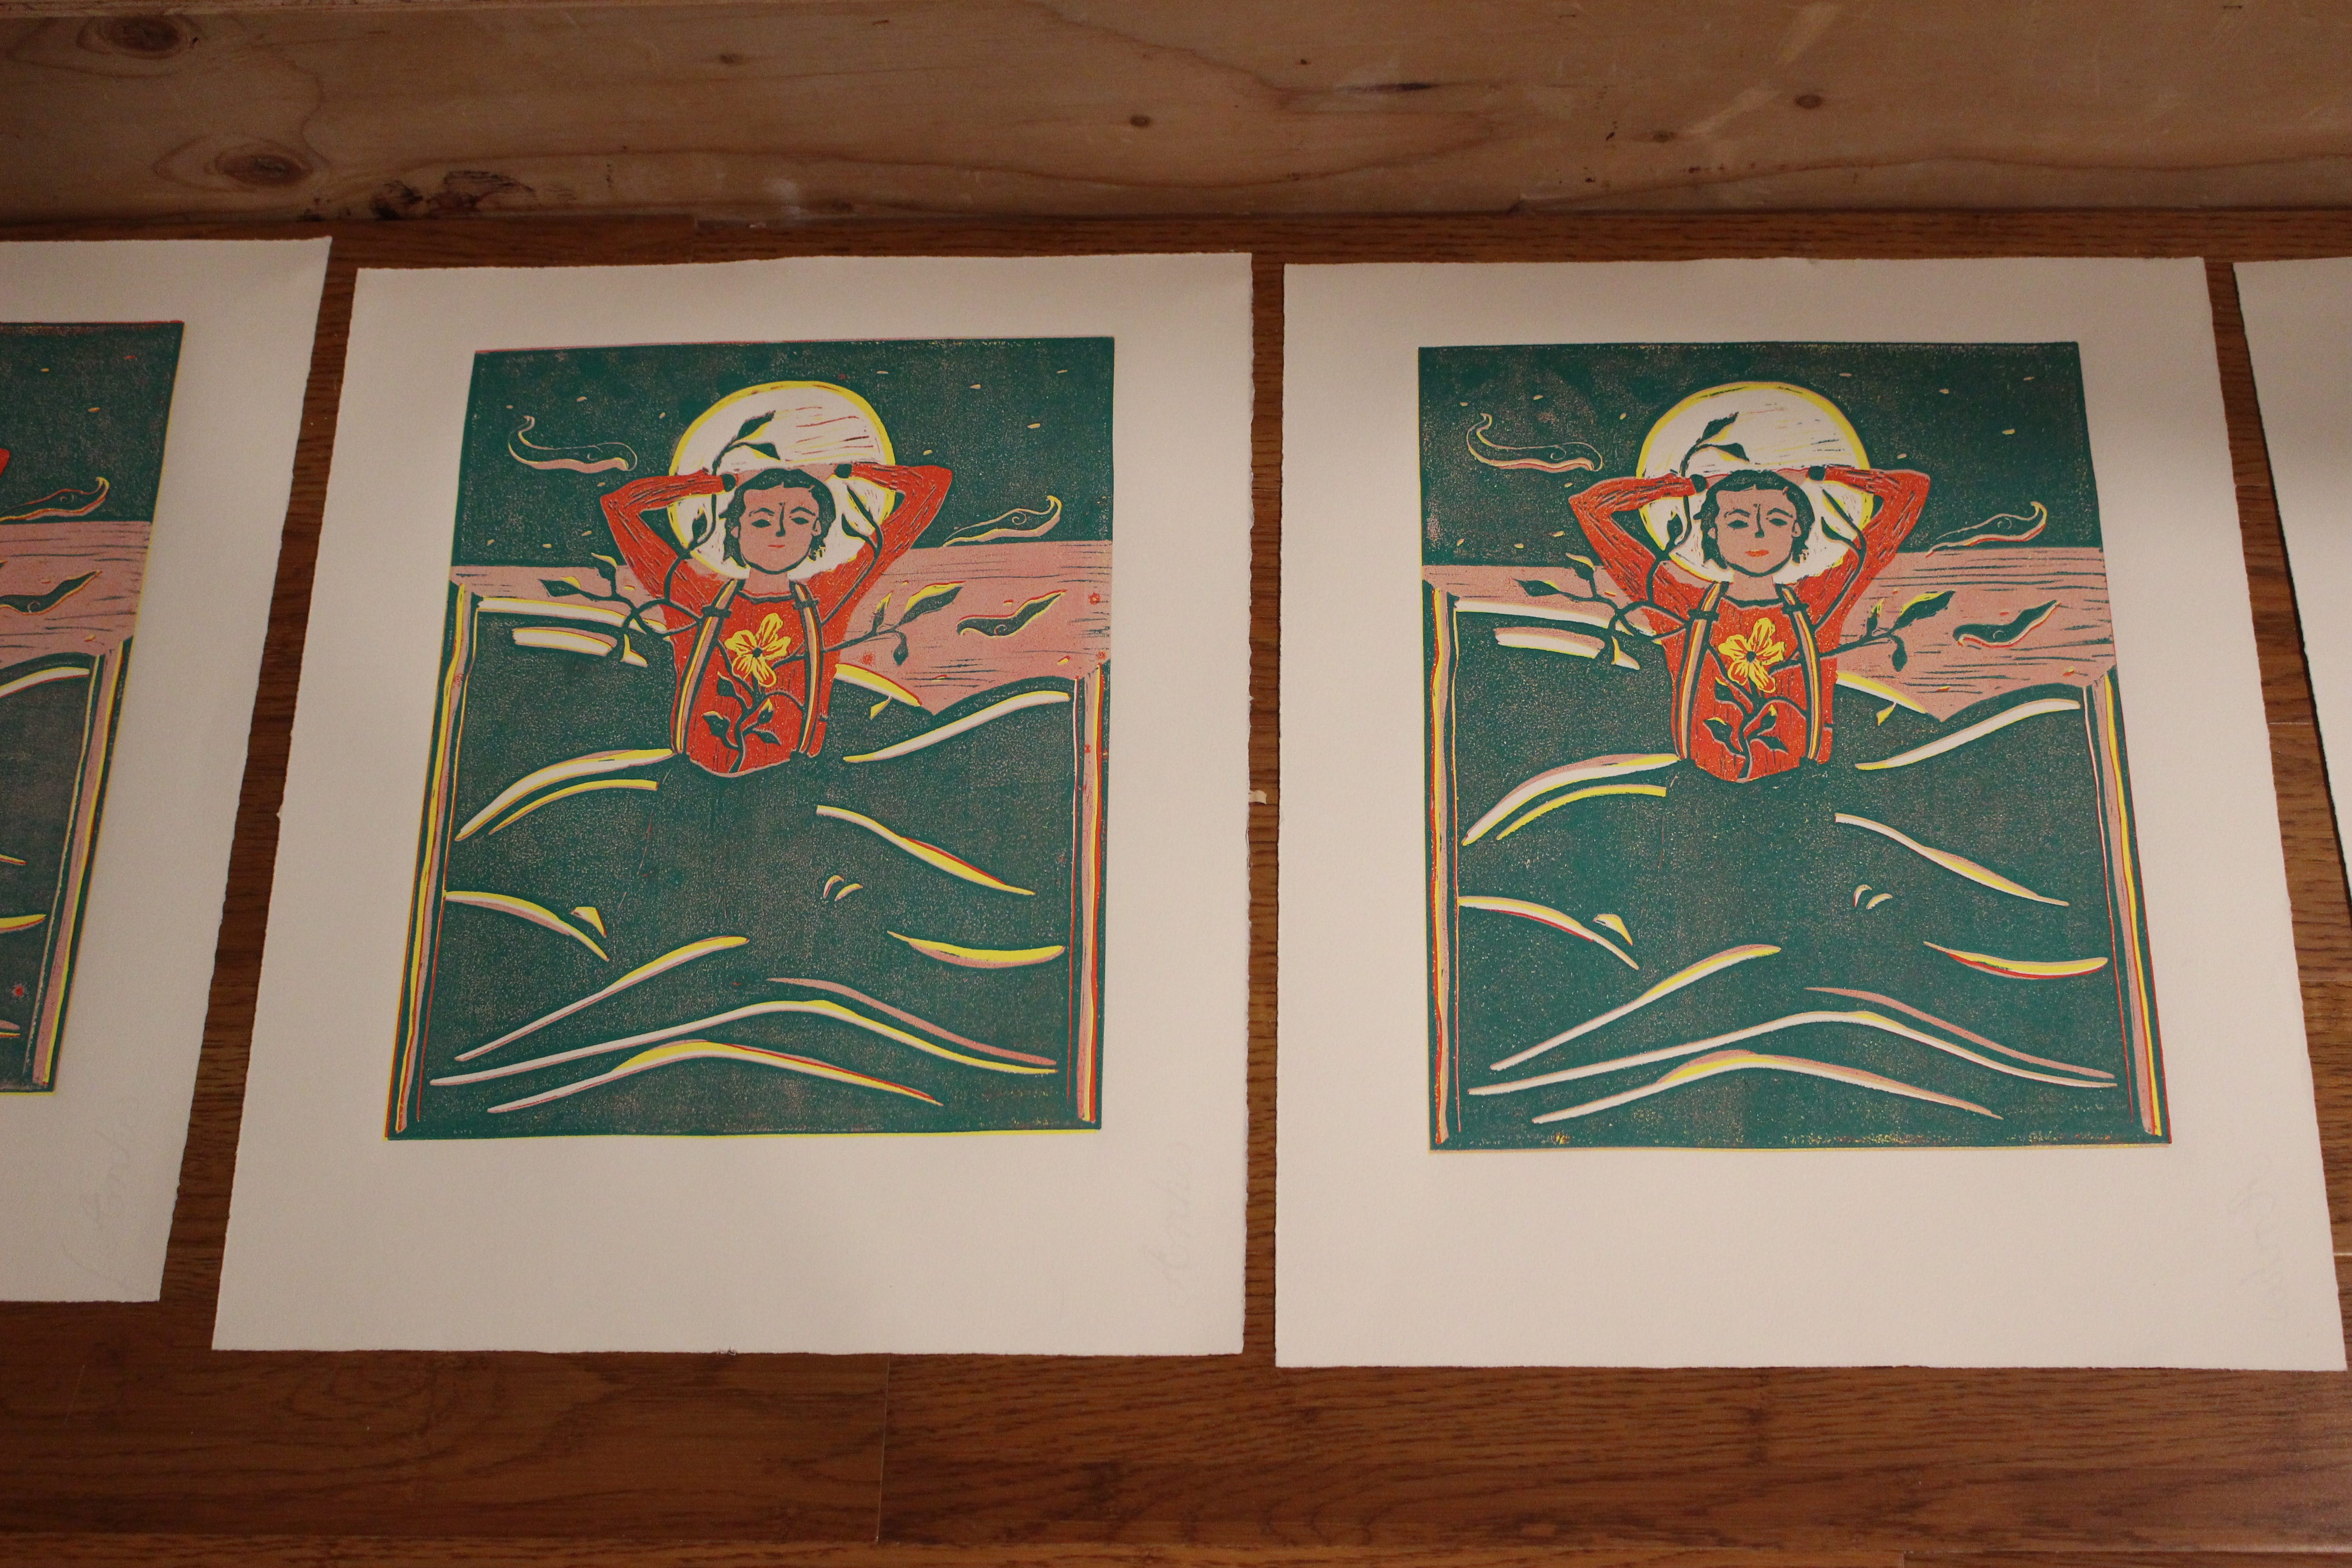
If you wish to do more than 2 layers, continue on! Eventually you may find the inks build up and you need to stop. Or perhaps you do your last layer on one page, and find that it wasn’t needed, so stop there! I did 5 printings for mine, plus a collage add on at the end making it 6+paper=7 colours total.
Remember you will need some space to lay out your prints! You can sign them in one corner, and write their edition number in the other (ex. 5/15), with name in the middle. Complete! Great job!
Thanks for following along on my process. If this is daunting, start with a single colour lino print, they are so much fun and you can do incredible things still!
My reflections
When I got to the end of this piece, I applied to do poster work for the Northwest Maritime Center and they accepted it for She Tells Sea Tales, a maritime event for women to share sea stories. With a quick turnaround for the poster art, we decided to give Charlie long hair!
As I went through all the technical learning and printing/carving process for this piece, I was simultaneously living my best queer life, loving and loving more the people in my life that are gender queer and trans. My trans and gender queer friends are some of the folks I most love and look up to in this world. The obscene amount of beauty and resilience and purity and gorgeousness makes my heart fall deeper into a well of trust and magic in this world. It is a visceral experience that I know not how to describe-only protect and frolick in. I am in love with gender queer people and the request to have this piece go through some semblance of a gender transition, was the best. I carved a separate block for her braids, printed them on a separate sheet of paper, cut it out, and taped it onto the print. I’m just in love.
An extra thank you to Northwest Maritime, my mother, partner, and studio mates for their generous support in this piece. <3
Join me at She Tells Sea Tales this march, get your tickets for the live event in Port Townsend, WA! And see more about the print on the blog post I made for them!
Pure magic, Eden. I'm so glad your grandmother took that picture of your brother, and I loved the step-by-step narrative and weaving your love of the sea with your brother, your boat, and queer and trans beloveds. (and big fan of the nordic color palette too). More, more!